|
||||||||||||
|
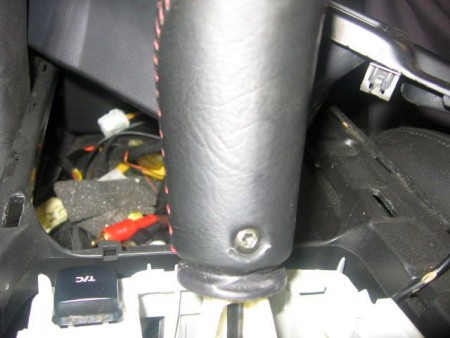
1. The first steps are the same as in the manual install guide for the GTO. The boot and surround are attached differently. Also the shift knob has a different shape at the bottom which you can see in photo 2.
Find it here. |
|
|
2. The bolt to remove to remove the shift knob: |
 |
|
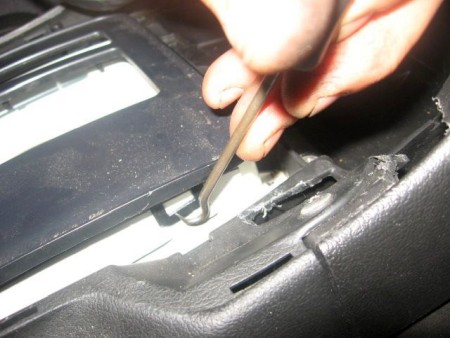
3. Remove the retainers (4) one at each corner which attaches the shift plate to the shifter.
|
 |
|
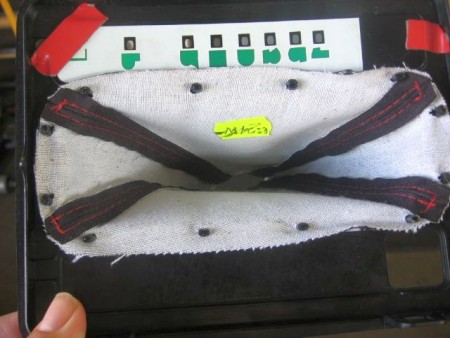
4. Here is the backside of the shift plate with the redline boot attached - I used glue because the holes were slighty larger, just put drops of glue over the mounting prongs, after sliding the new boot on them of course! :)
|
 |
|
5. Reinstall everything in the reverse order of removal.
|
|
|
CONGRATULATIONS - YOU HAVE SUCCESSFULLY INSTALLED YOUR NEW LEATHER BOOTS!
Useful tip You have installed a product made out of genuine leather. As you know, to maintain a leather product in good condition, you should take care of it. We suggest occasionally (every 4-6 week for example) applying some leather conditioner/UV protector to keep your leather from drying up in the sun and cracking. |
|
Please subscribe to our newsletter.
Get an instant 20% discount and enter our montly $100 CASH sweepstakes!