2000-04 NISSAN XTERRA |
||||||||||||||||||||||||||||||||||||
|
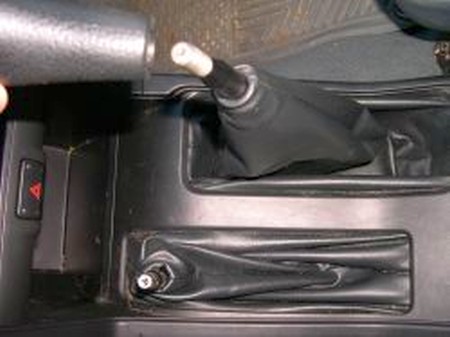
If your car has the post-face-lift interior with the shift boot separated from the transfer case with a small gap scroll down or click here for your install info.
1. Remove shifter knobs by unscrewing them. |
|
|
2. Remove the screws (4 total) anchoring molding. |
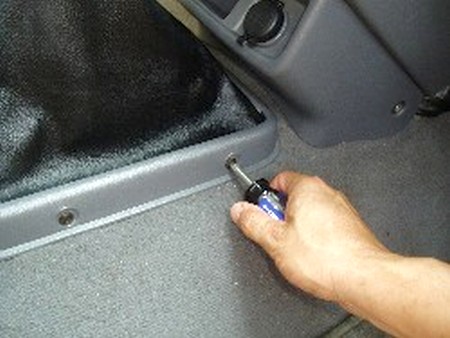 |
|
3. Pull molding and boots up and out over the shifters. |
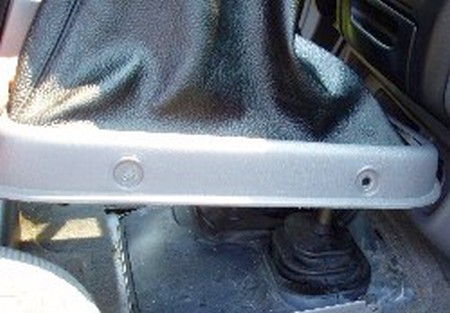 |
|
4. Remove the old boots from the plastic clips on the underside of the molding. |
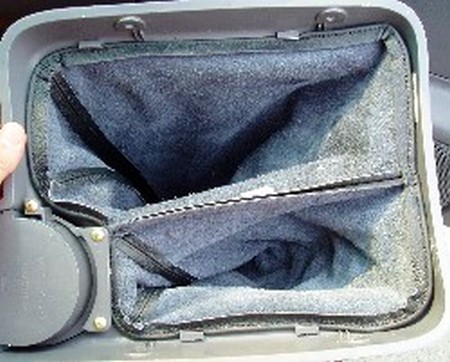 |
|
5. Reverse steps 1-4 to install the new boot. |
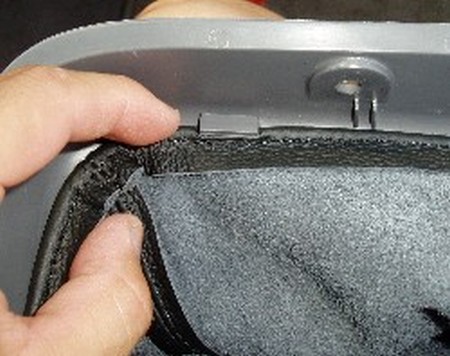 |
 |
|
|
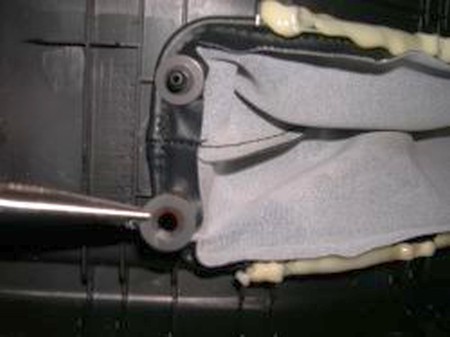
2. Lift the shift boot trim bezel along with the shifter boots. Remove the one way washers. |
 |
|
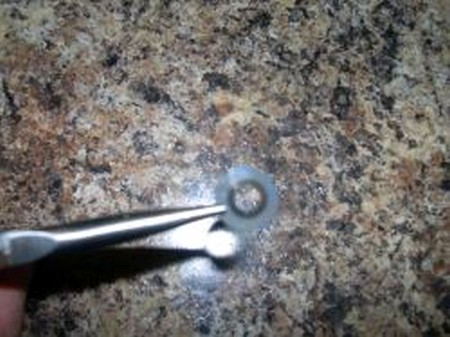
3. Do it carefully - you will need to re-use these. |
 |
|
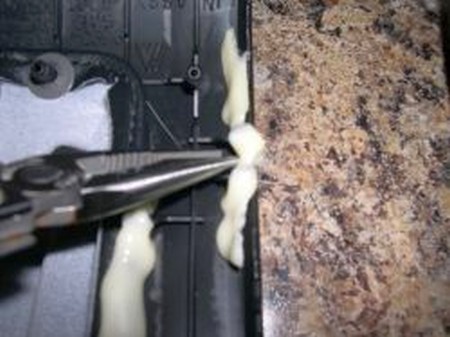
4. Carefully remove the contact adhesive . |
 |
|
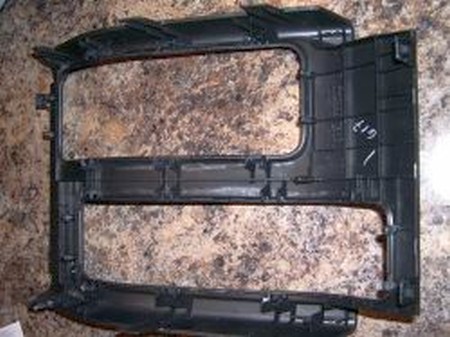
5. This what a cleaned console looks like seconds before we install the new boots into it. |
 |
|
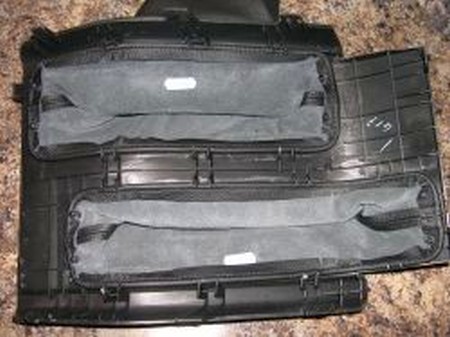
6. Put the new shifter boots on in the correct direction . |
 |
|
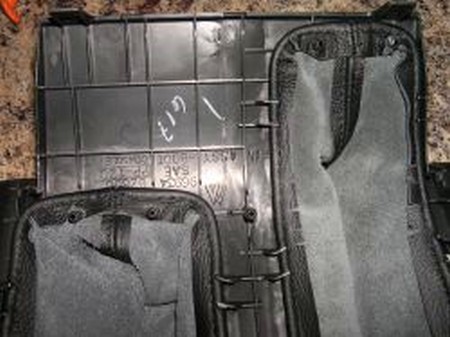
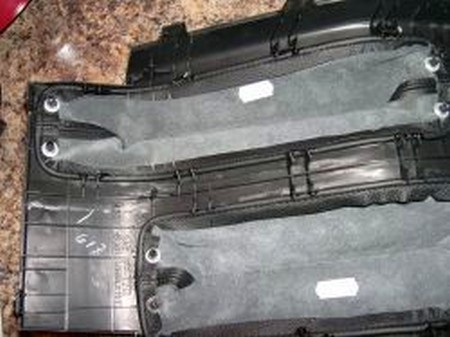
7. align the pins with the holes in the shifter boots |
 |
|
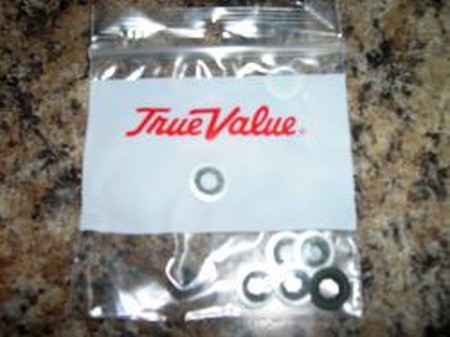
8. Use the one way washers to secure shifter boots. If you damage the one way washers they are available at most hardware stores |
 |
|
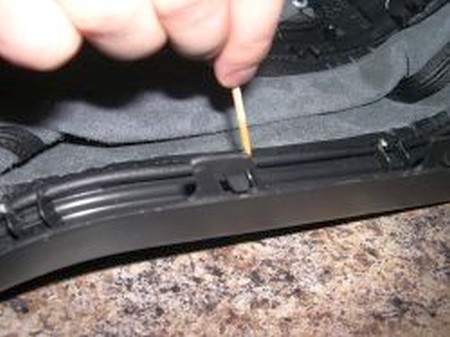
9. Use a small amount of flexible multi surface glue to secure the Shifter boots around the trim bezel |
 |
|
10. This is the stuff we used and it worked for us. |
 |
|
11. carefully put shifter boots over the shifter shafts . |
 |
|
12. Screw on the shifter knobs. You can use a small amount of Loctite thread locker to secure the knobs better. |
 |
|
CONGRATULATIONS - YOU HAVE SUCCESSFULLY INSTALLED YOUR NEW LEATHER BOOTS!
Useful tip You have installed a product made out of genuine leather. As you know, to maintain a leather product in good condition, you should take care of it. We suggest occasionally (every 4-6 week for example) applying some leather conditioner/UV protector to keep your leather from drying up in the sun and cracking. |
|
Please subscribe to our newsletter.
Get an instant 20% discount and enter our montly $100 CASH sweepstakes!