2001-07 VOLVO XC70 |
||||||||||||||||||||||||||||
|
EBRAKE BOOT |
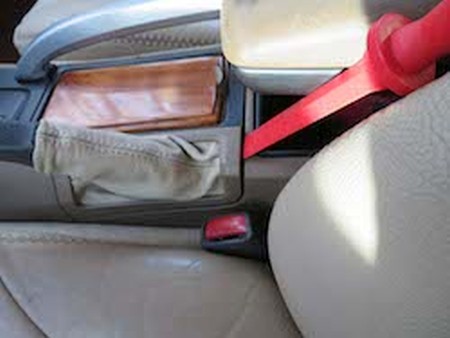 |
|
2. Use an upholstery tool, but a screwdriver or something still flatter like a butter knife might be even better. |
 |
|
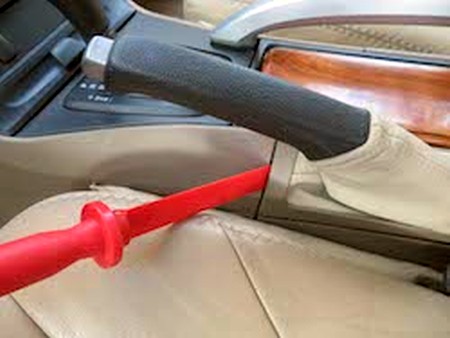
3. The latch/catch is fairly small and easy to trip open. Pressing straight down with your tool, then angling a bit to push up will usually do the trick. |
 |
|
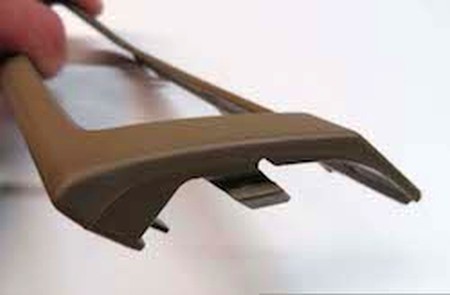
4. Once removed, you can see the indents where the two layers of the plastic bezel were clamped and adhered together. They will align with the notches of your boot. These should snap easily apart with a screw driver or a flat blade. |
 |
|
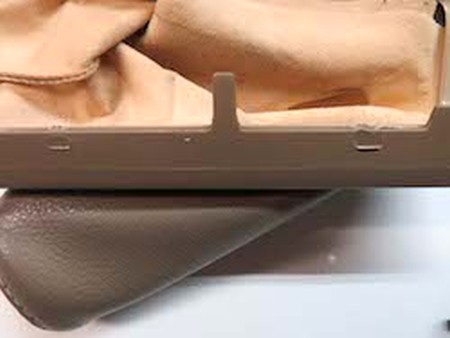
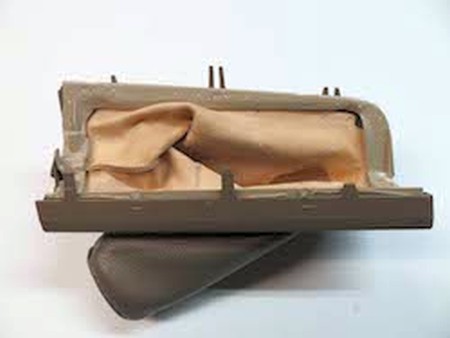
5. This picture shows the whole assembly after the layers have been separated. |
 |
|
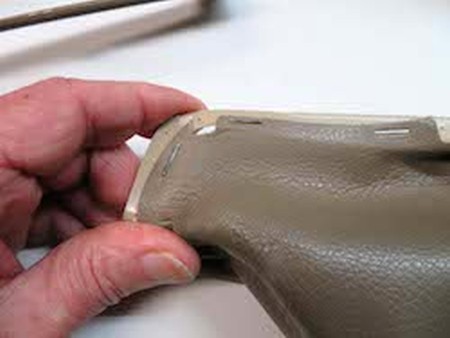
6. A close up of the staples used at the factory to assemble the boot to the lower bezel. You will be unable to get staples through the plastic without specialized tools, so you will be using either a plastic welding epoxy, or another strong durable glue of your own choosing. |
 |
|
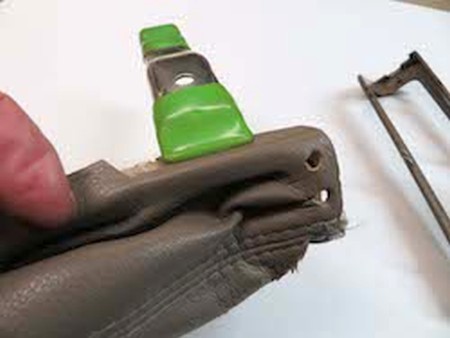
7. Align the two holes on the narrow end as the starting point, and use a powerful spring clamp to hold it in place. |
 |
|
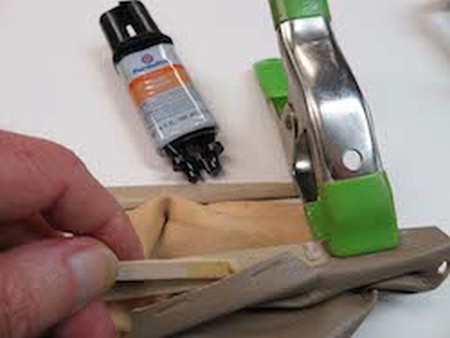
8. Start glueing. With each new section of boot (between the notches in the leather), apply the glue and clamp it into place, leaving the clamps for a least an hour or so. PW epoxy hardens in 5 minutes and cures in about 12 hours. Refer to the can of the glue you are using for detailed curing instructions, and follow them. |
 |
|
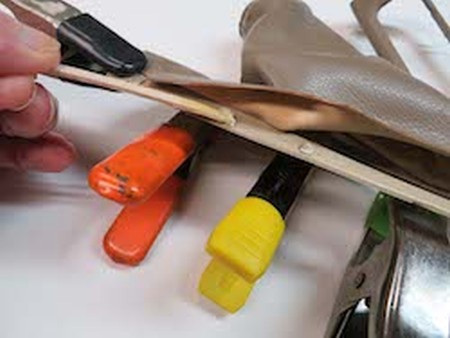
9. It is quite a stretch to fit your new boot on the bezel, so keeping it clamped during assembly will prove very helpful. Just make sure the notches in the leather stay aligned with the old factory glue joints, and that the small holes stay aligned to the factory holes where the pins from the upper bezel fit down into them. |
 |
|
ARMREST COVER |
 |
|
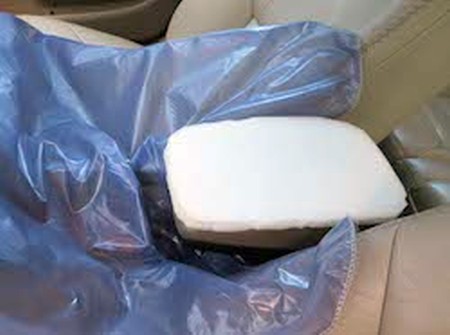
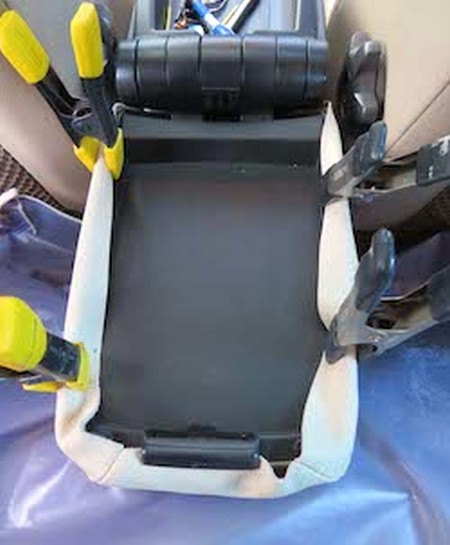
11. After the foam is attached (if your RedlineGoods armrest cover was ordered without padding, it doesn't apply to your install, obviously), spray the leather and very carefully center it and lay it over the assembly without yet applying any adhesive to the sides of the lid. That will help you avoid having the sides of the leather catching on in the wrong position. Then flip the lid open and clamp the leather tightly from the inside. |
 |
|
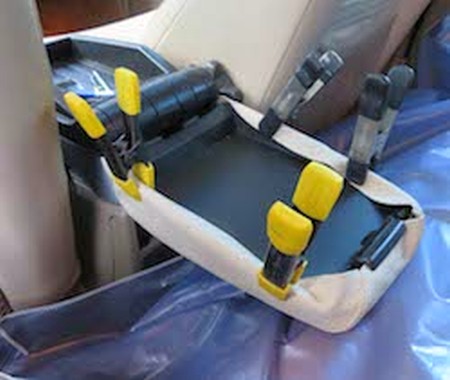
12. From this point you can release the clamps from one side after the other to be able to paint the side edges. From there you can move on to apply the adhesive to the bottom edges and the inside the vertical edges of the interior side of the lid. |
 |
|
ENJOY YOUR NEW LEATHER ITEMS! |
|
|
Useful tip You have installed a product made out of genuine leather. As you know, to maintain a leather product in good condition, you should take care of it. We suggest occasionally (every 4-6 week for example) applying some leather conditioner/UV protector to keep your leather from drying up in the sun and cracking. |
|
Please subscribe to our newsletter.
Get an instant 20% discount and enter our montly $100 CASH sweepstakes!