|
||||||||||||||||
|
1. Carefully pry shift boot & mounting plate away from console; mounting tabs should pop loose with just a gentle twist. |
|
|
2. Remove shift boot from mounting plate. |
 |
|
3. Install new shift boot over mounting plate; some gentle stretching & positioning may be required to get the plate into place, but don't worry, it will fit! |
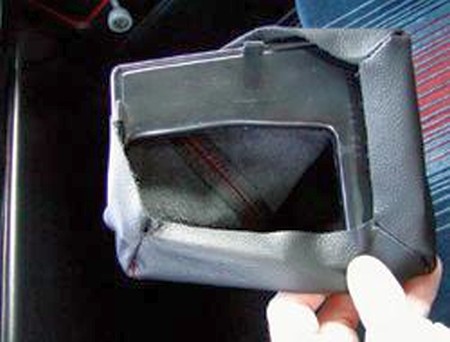 |
|
4. Mark boot where mounting tabs will protrude (chalk works nicely); try to anticipate where the tabs should be when boot lays flat against the mounting plate as opposed to where they sit prior to cutting, as it will keep the excess material tight. |
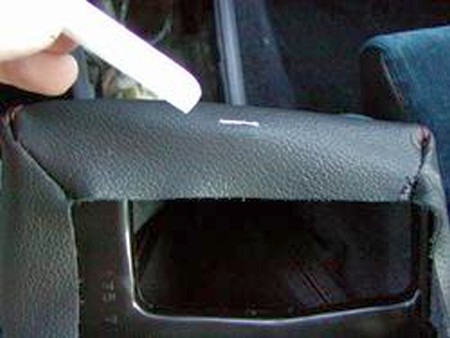 |
|
5. Make small incisions in the leather as marked (an Exacto knife or razor blade is effective). |
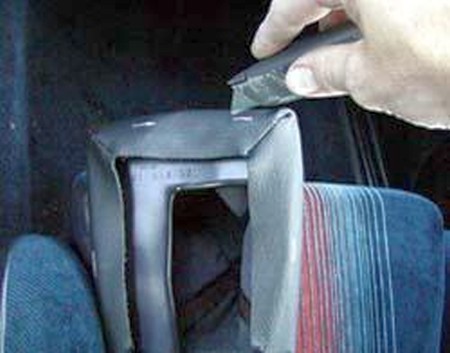 |
|
6. Push the mounting tabs through. |
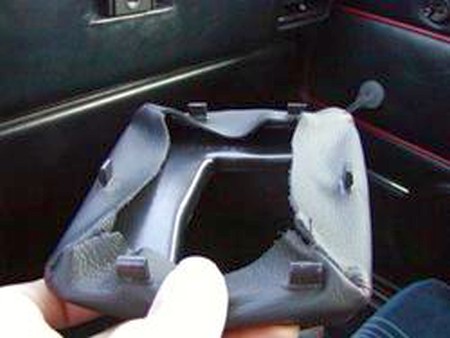 |
|
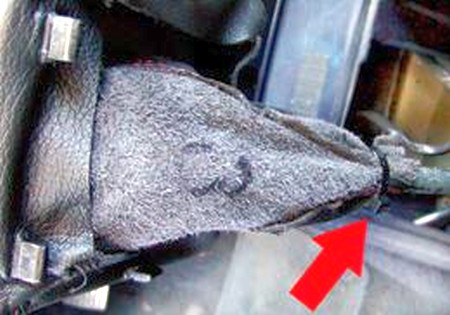
7. Once the boot is in place on the mounting plate, turn the boot inside out and slide the inverted end over the shift lever and, using a zip-tie, fasten the boot approximately 1" from the end. The height of the boot can be adjusted simply by sliding the fixed portion up or down.
8. Turning the boot right-side out again, re-fasten the mounting plate to the console; lightly pulling the leather tight against the plate will ease re-installation. Affix your shift knob and you're ready to go! |
 |
|
CONGRATULATIONS - YOU HAVE SUCCESSFULLY INSTALLED YOUR NEW LEATHER BOOTS!
Useful tip You have installed a product made out of genuine leather. As you know, to maintain a leather product in good condition, you should take care of it. We suggest occasionally (every 4-6 week for example) applying some leather conditioner/UV protector to keep your leather from drying up in the sun and cracking. |
|
Please subscribe to our newsletter.
Get an instant 20% discount and enter our montly $100 CASH sweepstakes!