1992-95 FORD TAURUS SHO |
||||||||||||||||||||||||
|
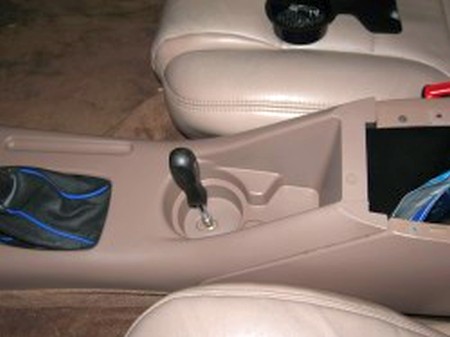
1. Take out the armrest cover by removing 3 screws holding it onto the centre console. This step isn’t necessary but will make removing the centre console easier. Remove the bolt (7mm) under the cup holder and shift knob by turning it counter-clockwise. |
 |
|
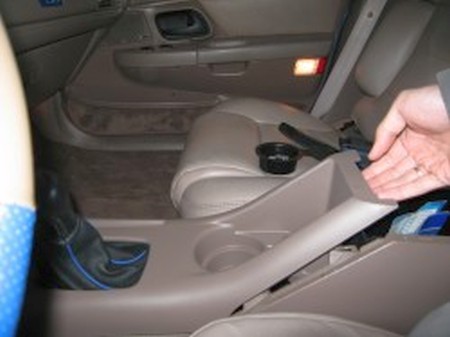
2. Lift the centre console at the end, be careful not to break off the plastic tabs. |
 |
|
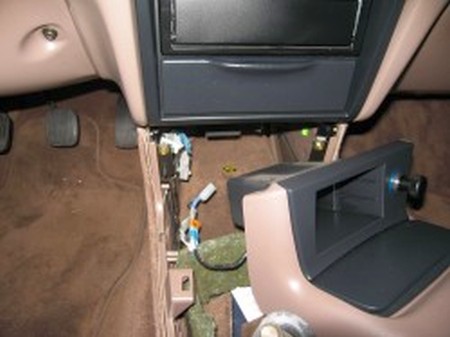
3. Unplug the cigarette lighter socket and remove console. |
 |
|
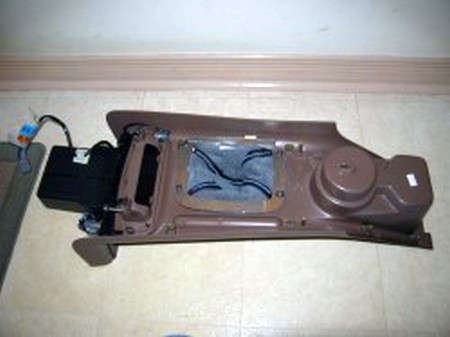
4. Take off the original shift boot by removing the 4 retaining clips; the plastic pegs will break off if too much force is applied so be careful. Then separate the metal bracket from boot; you will need to use it on the new boot. |
 |
|
5. Test-fit the new shift boot to the metal bracket to ensure the holes in the boot line up with the holes in the bracket. You can apply some adhesive between the two but it is not mandatory. Reuse the rubber grommet from the old shift boot in the new one, this will ensure the boot fit nice and true against the shift knob. |
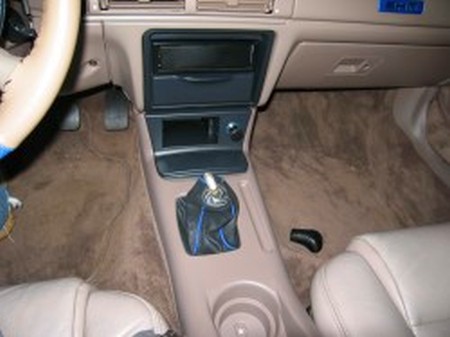 |
|
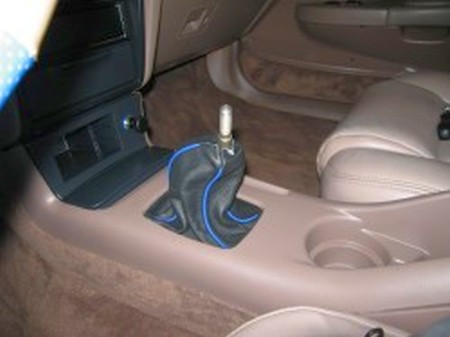
6. Reinstall the completed console and snap the tabs back together. |
 |
|
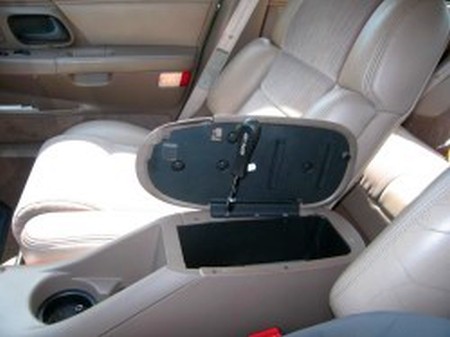
7. Unscrew the 3 screws holding the armrest onto the centre console and remove. |
 |
|
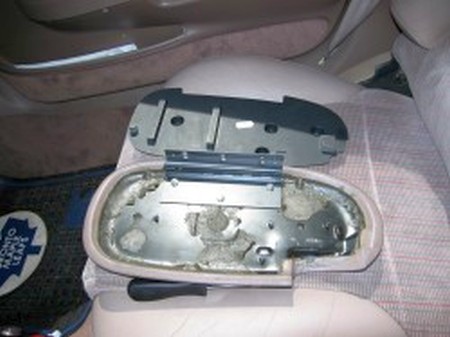
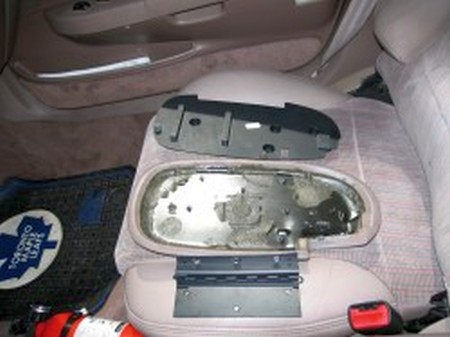
8. Remove the top plastic backing by unscrewing the four 7mm bolts. |
 |
|
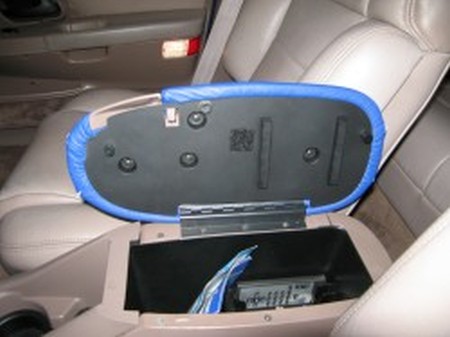
9. Remove hinge mechanism; then wrap the leather armrest cover over the armrest, making sure it fits tight and smoothly will create a nice and wrinkle free appearance. You may apply some adhesive to assist in that process, but it is not mandatory. |
 |
|
10. Reinstall hinge, top plastic cover, and replace completed armrest onto centre console. |
 |
|
ENJOY YOUR NEW LEATHER BOOTS! |
|
|
Useful tip You have installed a product made out of genuine leather. As you know, to maintain a leather product in good condition, you should take care of it. We suggest occasionally (every 4-6 week for example) applying some leather conditioner/UV protector to keep your leather from drying up in the sun and cracking. |
|
Please subscribe to our newsletter.
Get an instant 20% discount and enter our montly $100 CASH sweepstakes!