1989-92 FORD TAURUS SHO |
||||||||||
|
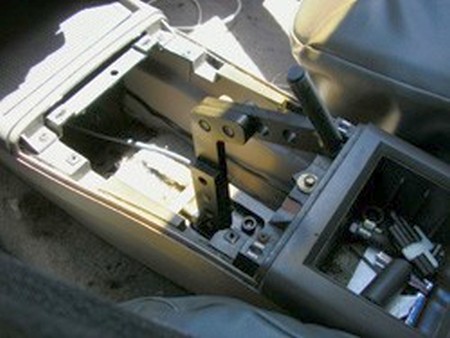
1. First, remove the center console plasic cover over the stock shift boot by pulling upwards. It is held in by friction. |
|
|
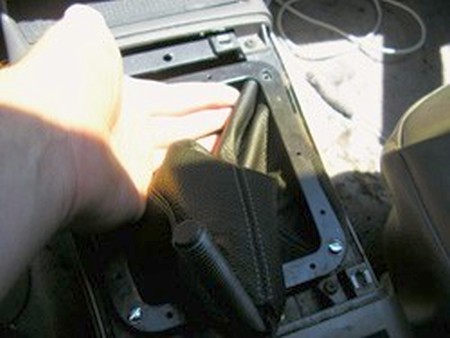
2. Next, unscrew the shift knob from the lever by twisting it
counter-clockwise. Now, remove the screws (standard screws are shown, but the
OEM screws are phillips head) from the shift |
 |
|
3. Carefully remove the metal bracket from the stock shift boot with a
blade or similar tool. You may wish to clean any excess glue from the bottom of
the bracket with a blade or sandpaper. |
 |
|
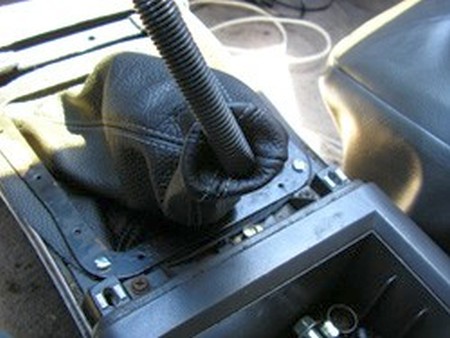
4. Reinstall your shift knob by threading it on clockwise.
If you glued your new boot to the metal bracket, simply line up the holes on
the bracket with the center console and install the screws. If not, set the
bracket over where it will be mounted. Now slip the shift boot under the bracket,
but over the mounting location and loosely install one of the mounting screws
(just a couple turns). Work around the shift boot until all four are loosely
fastened, then go around tightening them with a screwdriver. |
 |
|
CONGRATULATIONS - YOU HAVE SUCCESSFULLY INSTALLED YOUR NEW LEATHER BOOTS!
Useful tip You have installed a product made out of genuine leather. As you know, to maintain a leather product in good condition, you should take care of it. We suggest occasionally (every 4-6 week for example) applying some leather conditioner/UV protector to keep your leather from drying up in the sun and cracking. |
|
Please subscribe to our newsletter.
Get an instant 20% discount and enter our montly $100 CASH sweepstakes!