1971-85 ALFA ROMEO SPIDER |
||||||||||||||||||
|
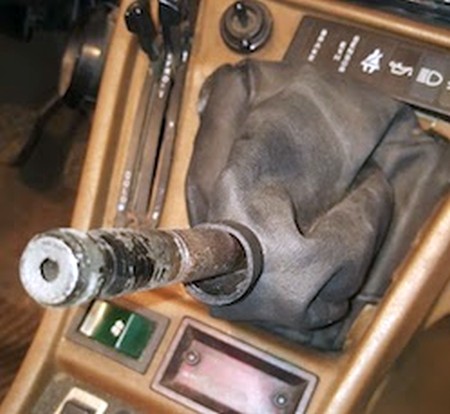
1. Remove shift knob. Depending on the shift knob it should unscrew with Allen wrenches and slide off. |
 |
|
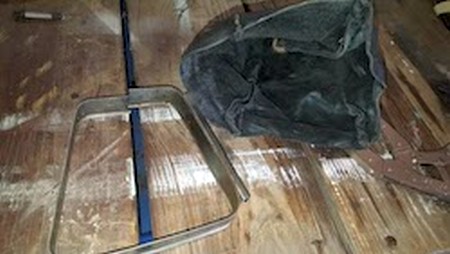
2. Loosen the center console. You should be able to remove the shift boot with completely removing the center console. |
 |
|
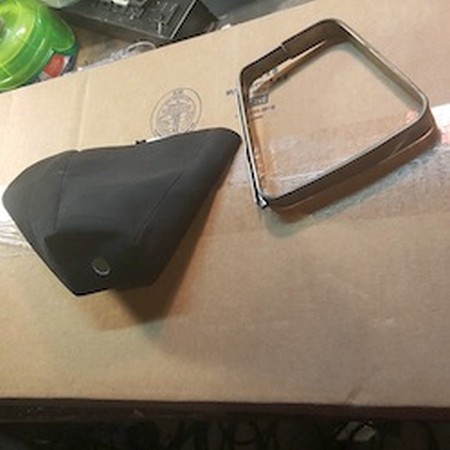
3. Free the shift boot frame (at base) from the console and the shift boot. |
 |
|
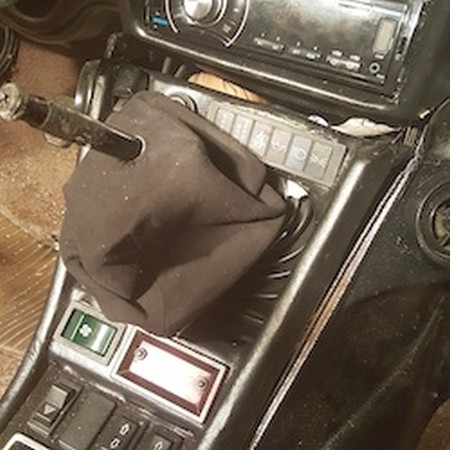
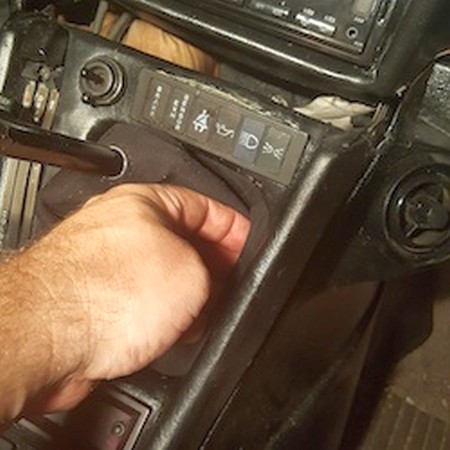
4. Now pull the boot and ring out through the opening of the console faceplate cover and remove from the vehicle. The leather boot is wrapped around a metal bezel. The boot is held on with these sharp little clamp spikey things around its periphery. You can gently remove them with a screwdriver. (if you're lucky they won't be rusted and break in your hands.)
Inspect the shift boot rubber boots (under the leather boot), replace if necessary. |
 |
|
5. Make sure the orientation of the new boot is correct, then clip it back in. |
 |
|
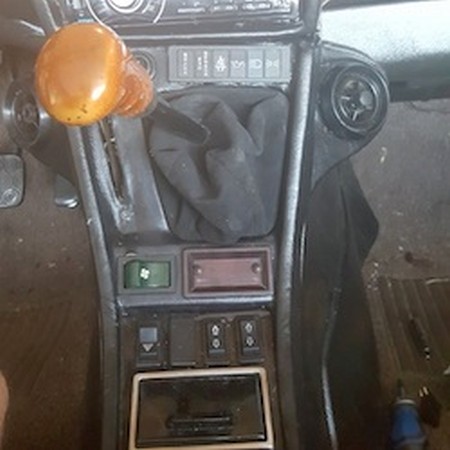
6. Push the entire boot and ring through the opening of the console faceplate cover and through the console opening. |
 |
|
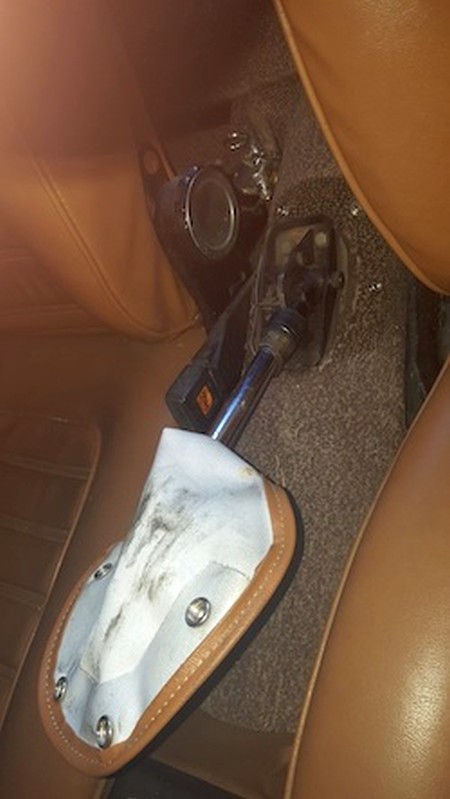
7. Pull the ebrake as far as it will go. Unsnap the old boot and pull it off... |
 |
|
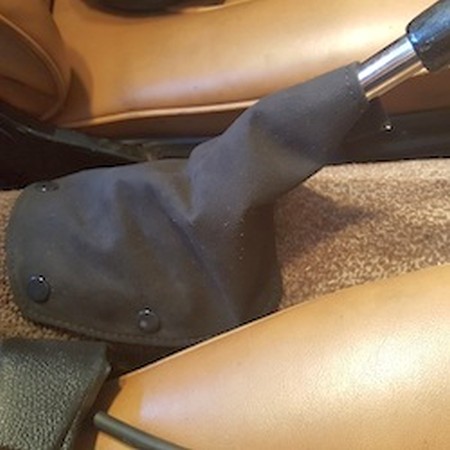
8. Install the new one instead and snap it into the buttons. |
 |
|
Useful tip You have installed a product made out of genuine leather. As you know, to maintain a leather product in good condition, you should take care of it. We suggest occasionally (every 4-6 week for example) applying some leather conditioner/UV protector to keep your leather from drying up in the sun and cracking. |
|
Please subscribe to our newsletter.
Get an instant 20% discount and enter our montly $100 CASH sweepstakes!