2004-12 VOLVO S40 |
||||||||||||||||||||||||||||||||||||||||||||||
|
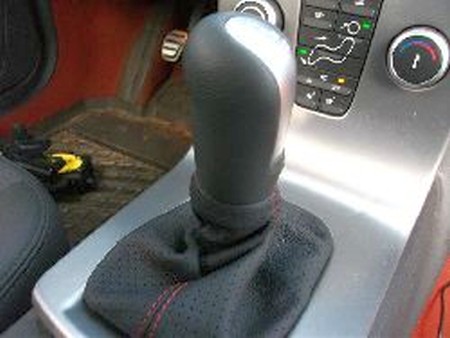
1. Remove that shift knob. Make a fist and hammer the top of the knob with your fist. Get the knob to move down and twist it counter clock wise. |
 |
|
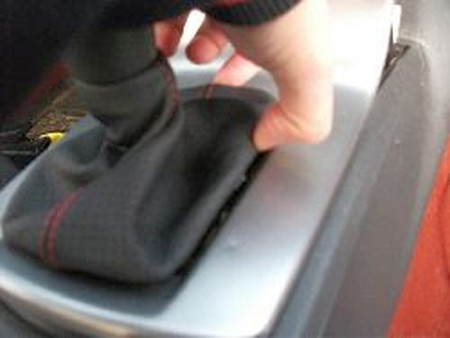
2. Now pry off a corner of the boot clips. I found the easiest way is to take off 2 sides of a corner. |
 |
|
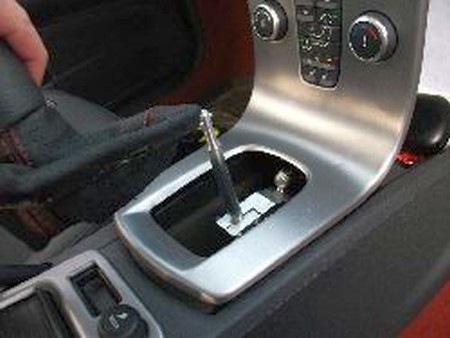
3. Now you should have something like this. |
 |
|
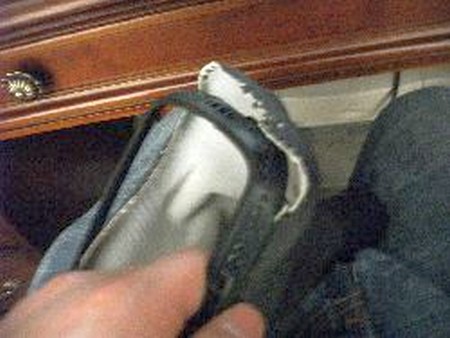
4. Remove the shift boot itself from the boot clips. Just pull it off the clip slowly because you do not want to break that clip. Boston Volvo does not sell that clip separate from the clip. |
 |
|
5. Once that is off, remove the electrical tape and take out the plastic clip so you can reuse the shift knob on the new boot. |
 |
|
6. This is what you need to re-use. |
 |
|
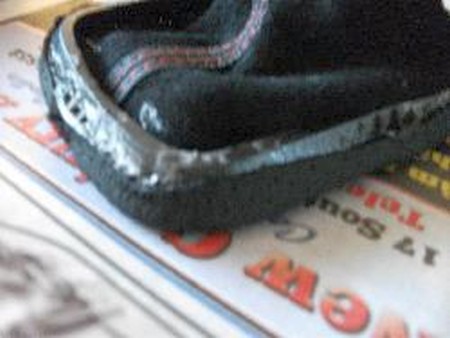
7. Have the boot clip upside down and spray it with glue. Wait about 30 seconds. Then take your new boot and press firmly around the boot clip. Make sure you do not cover the 4 clips. Please adhere to the instructions for your glue of choice to make sure you get a good bond. Once the glue is dry, reinstall the boot into the car reversing the steps taken to remove it. |
 |
|
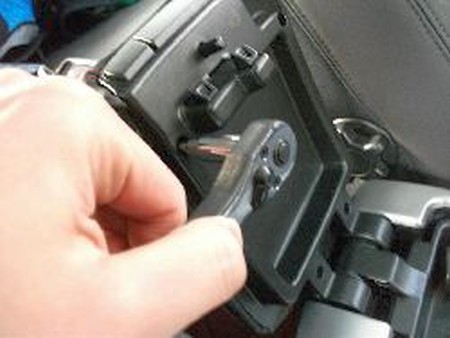
8. Remove the arm rest by opening the top part and locating the torx screws. Now to take the cover itself off, take it off from the back. It's easier that way. |
 |
|
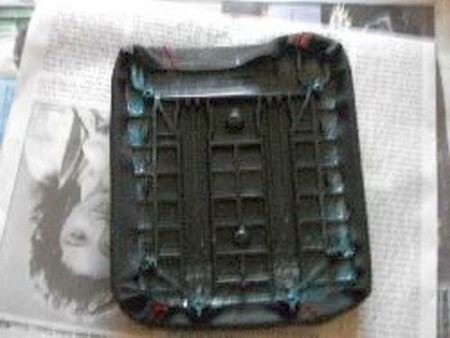
9. Removal of the original cover is not required since the new cover fits fine over the old one. Flip the cover upside down and spray the 3M adhesive around the edges. |
 |
|
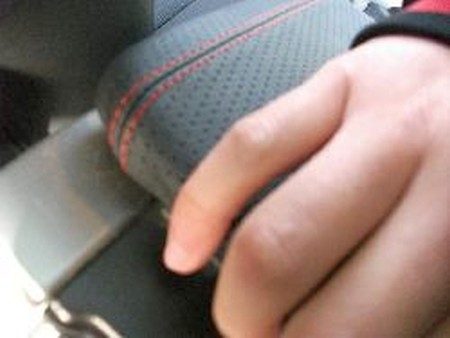
10. Now wait 30 seconds then put the cover on top of the leather. Now press down on the edges. To avoid wrinkles make sure you pull on the leather from opposite sides. Do it everywhere and check the back to make sure there are no wrinkles. Binder clips will be very helpful in making sure the fitment is tight. Once glue dries, reinstall it into the car. |
 |
|
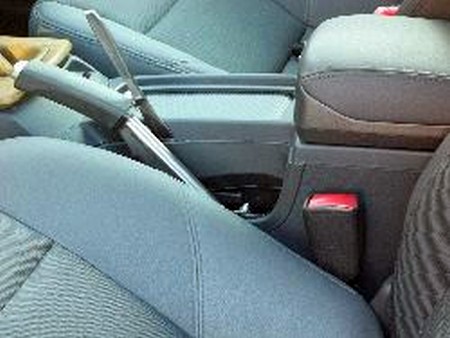
11. Get either a putty or a butter knife. I used the knife. A small flathead screwdriver wrapped in cloth to prevent scratching the console will also do fine. |
 |
|
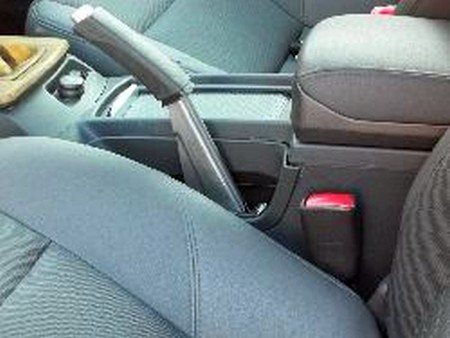
12. Carefully poke the knife between the center console and the cover around the boot and carefully pry it apart. |
 |
|
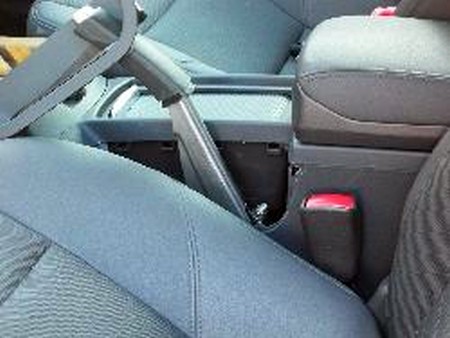
13. E-brake boot is only removable after removing the whole cover, pulled up and over the brake lever. |
 |
|
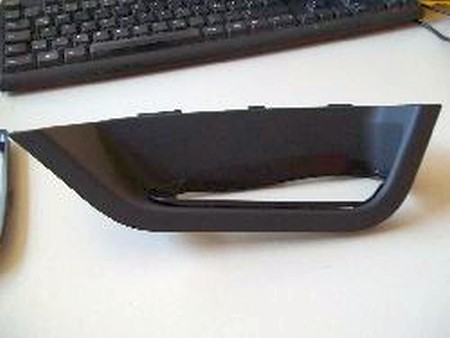
14. The boot is held on via a little black clip from inside. |
 |
|
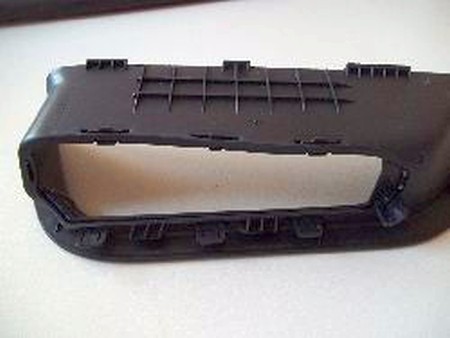
15. This is clipped in place via 8 clips. |
 |
|
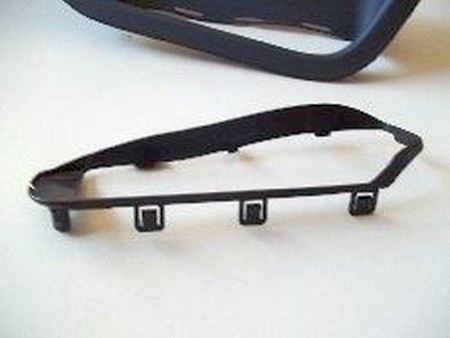
16. Carefully separate the two parts and at the same time, remove the boot (only clipped between black and grey parts) and keep parts apart. |
 |
|
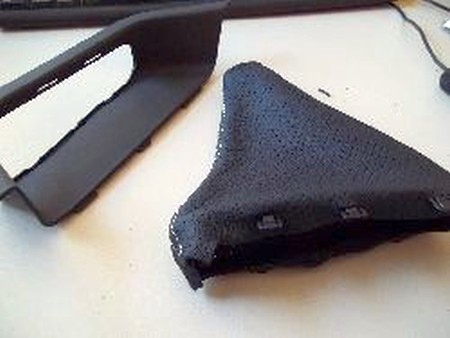
17. To fit the boot, search for the little slices in the leather. There will be 3 each side. Fit the boot, with the curved side facing the front - you might possibly have to lengthen the slits, if that is the case an X-acto knife will be perfect (or any other sharp knife really.) |
 |
|
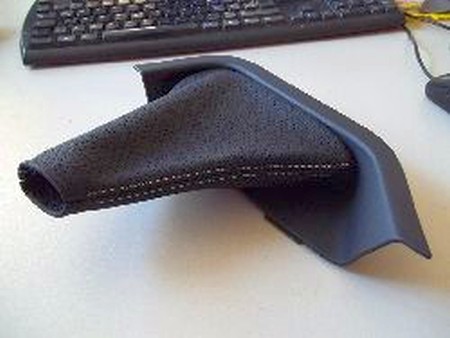
18. Now you have to fit the boot into the grey trim part. Put the longer clips (those facing the driver's seat if LHD) in first and then push the other little clips into the other side. |
 |
|
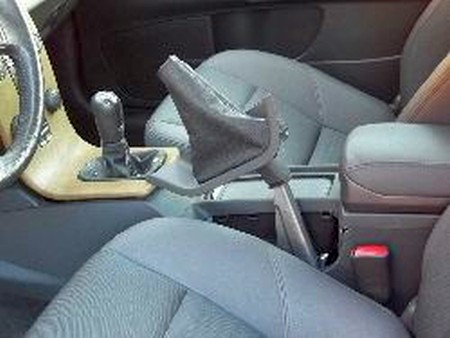
19. To refit into car, you'll have to try two different ways. As seen here, carefully pull it over the brake lever/handle. This can get a little tough, as the handle gets wider towards the bottom and can possibly tear seams on the boot. If you find it difficult, try the version below. |
 |
|
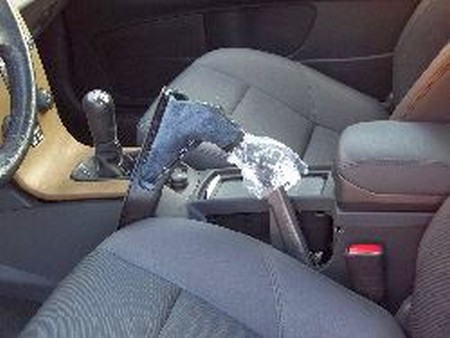
20. Put a thick (unprinted) plastic bag over the handbrake and thread the boot over the plastic bag. I found this easier because the bag cancels out the friction between the handle and the boot... |
 |
|
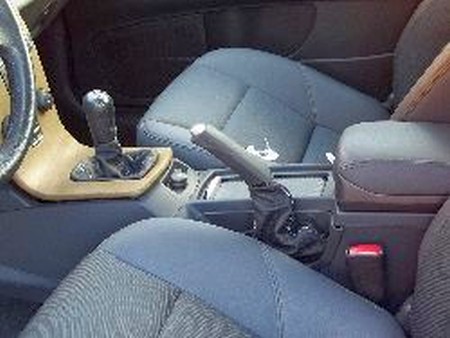
21. Clip the plastic trim into the center console and get the seam around the end of the brake lever straight. |
 |
|
ENJOY YOUR NEW LEATHER BOOTS! |
|
|
Useful tip You have installed a product made out of genuine leather. As you know, to maintain a leather product in good condition, you should take care of it. We suggest occasionally (every 4-6 week for example) applying some leather conditioner/UV protector to keep your leather from drying up in the sun and cracking. |
|
Please subscribe to our newsletter.
Get an instant 20% discount and enter our montly $100 CASH sweepstakes!