2006-10 KIA RIO |
||||||||||||||
|
1. Remove both foot well kick panels, pull from the bottom out, then slide the panel towards the seats until the come free, unscrew both 10mm screws behind the panels. |
|
|
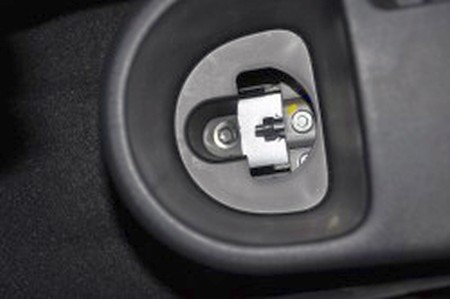
2. Remove the small carpet piece behind the shifter base console, under the carpet you will find another 10mm screw, take the screw out. |
 |
|
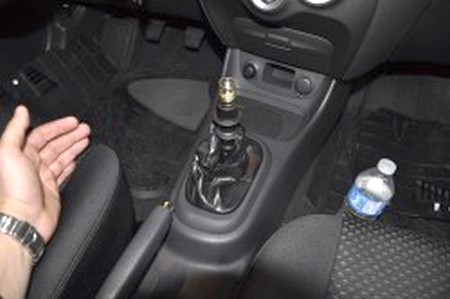
3. Unscrew the shift knob. |
 |
|
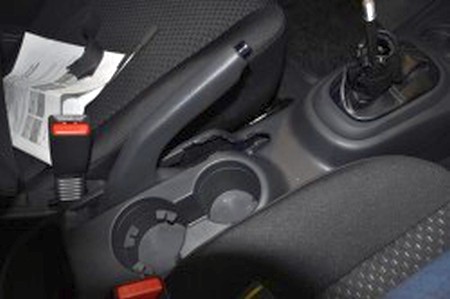
4. Remove the ebrake handle trim from the console using a small flat screw driver, and then remove the console from the vehicle. |
 |
|
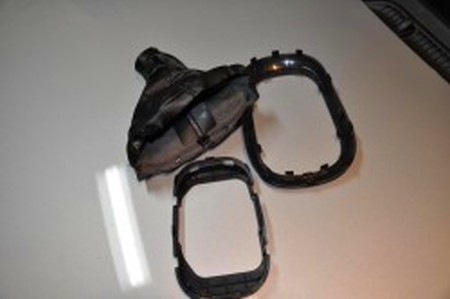
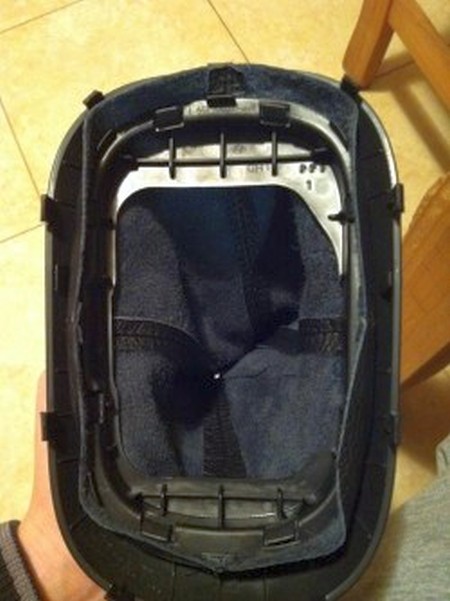
5. Remove the shifter boot ring from the shifter base console. !!!!!BE VERY CAREFUL NOT TO DAMAGE THE SHIFTER BOOT RING!!!!! Seperate the inner shifter boot ring from the outer shifter boot ring. Remove the stock shifter boot. |
 |
|
6. Re-install your new RedlineGoods genuine leather shift boot into the shifter ring and complete the installation using the above steps for re-assembly. |
 |
|
CONGRATULATIONS - YOU HAVE SUCCESSFULLY INSTALLED YOUR NEW LEATHER BOOTS!
Useful tip You have installed a product made out of genuine leather. As you know, to maintain a leather product in good condition, you should take care of it. We suggest occasionally (every 4-6 week for example) applying some leather conditioner/UV protector to keep your leather from drying up in the sun and cracking. |
|
Please subscribe to our newsletter.
Get an instant 20% discount and enter our montly $100 CASH sweepstakes!