1990-93 ACURA INTEGRA |
||||||||||||||||||||||||
|
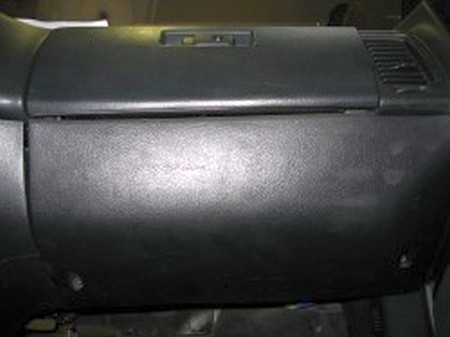
1. To remove panel on the right side of the cabin below the glove box, remove the 2 screws on the bottom corners. |
 |
|
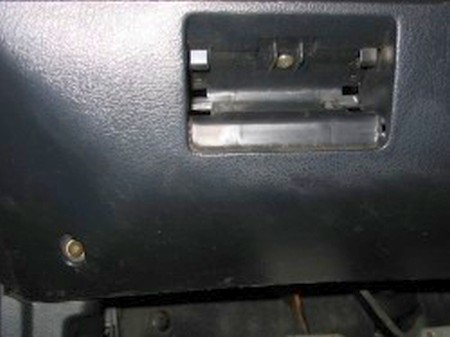
2. Remove the coin tray to the left of the driver’s knee; careful not to break it. There is a screw there, remove it. There are 2 screws on the bottom corners of the panel below the steering wheel. |
 |
|
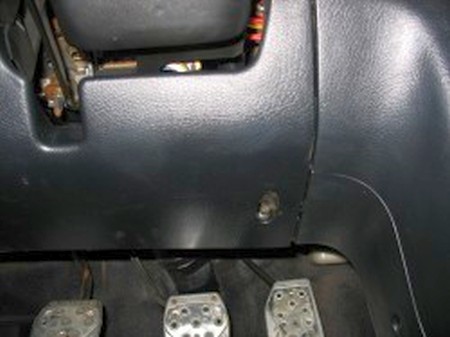
3. After removing these 3 screws, pull the panel gently toward you. The panel will come off. |
 |
|
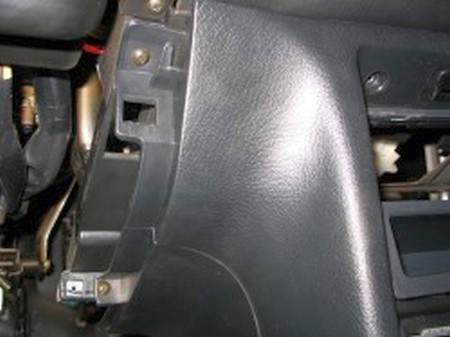
4. The hidden screws holding the centre console in on the sides will now be exposed. There are 2 on each side. Remove them. |
 |
|
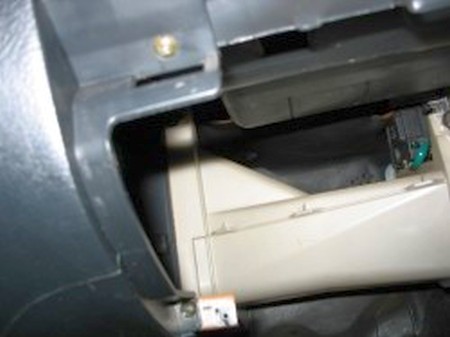
5. There are also 2 screws on each side of the centre console, just above the floor in full view. Also, there are 2 at the top, front of the console. Finally, there’s 1 on the back wall of the opening below the ashtray. This makes 11 screws in total holding in the centre console. |
 |
|
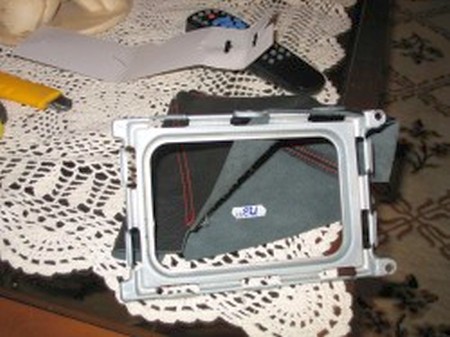
6. Remove shift knob (the stock one screws on; I have an aftermarket universal one). Slip centre console off. I’ve found it easier to start with the manual shifter in neutral and then, during removal, put it into fourth gear. Unscrew metal bracket from centre console and remove stock shift boot. |
 |
|
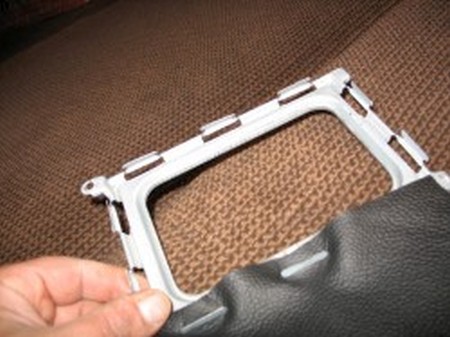
7. Carefully, so as not to damage it, attach your new sweet-smelling leather shift boot to the metal bracket via the pre-cut slits in the boot. Bend the metal tabs as required, but not too roughly. |
 |
|
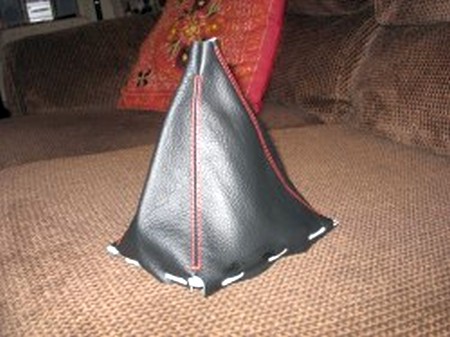
8. This is what you're looking for. |
 |
|
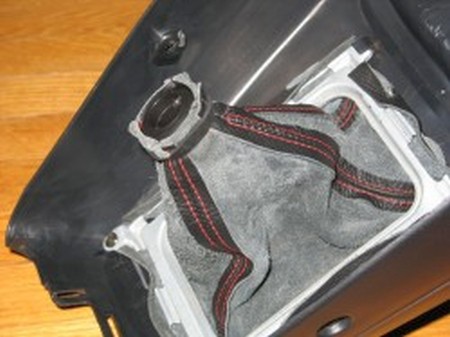
9. Rescrew the metal bracket to the centre console. Remove the top ring from your stock shift boot and attach it to the new high-quality, well-manufactured leather piece. You’ll have to turn the boot inside out to do this. Use either the factory elastic or a cable/zip tie. My factory elastic was fine so I reused it. |
 |
|
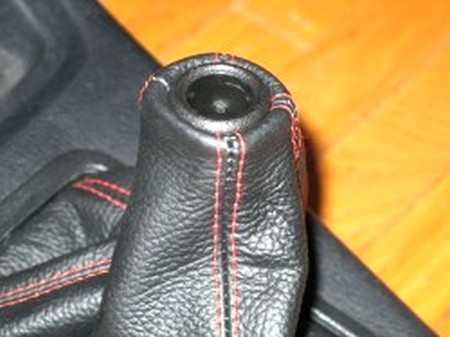
10. Reinstall everything in the reverse order of removal. |
 |
|
ENJOY YOUR NEW LEATHER BOOTS! |
|
|
Useful tip You have installed a product made out of genuine leather. As you know, to maintain a leather product in good condition, you should take care of it. We suggest occasionally (every 4-6 week for example) applying some leather conditioner/UV protector to keep your leather from drying up in the sun and cracking. |
|
Please subscribe to our newsletter.
Get an instant 20% discount and enter our montly $100 CASH sweepstakes!