1997-05 TOYOTA HILUX |
||||||||||||||||||||||||||||||||||
|
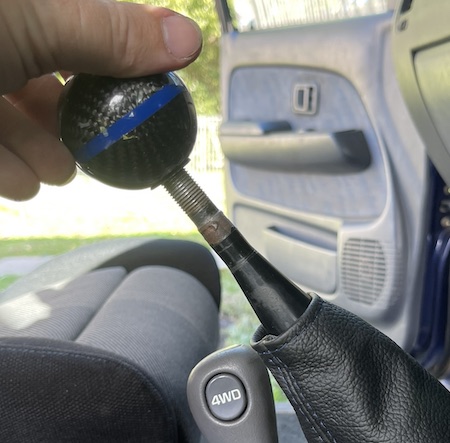
1. Remove shift knob. (turn counter clockwise). |
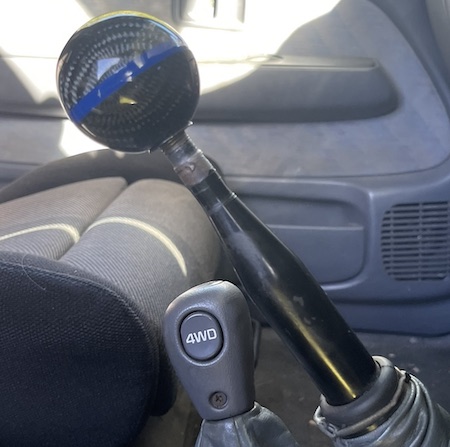 |
|
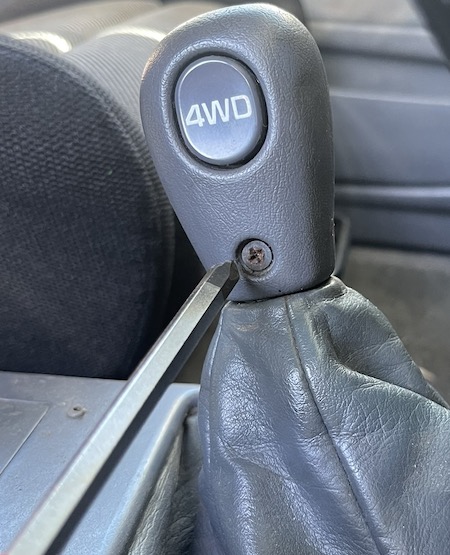
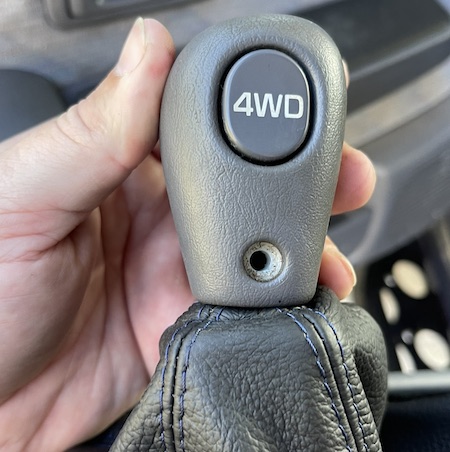
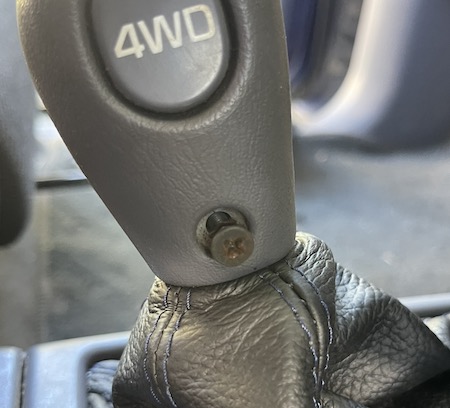
2. Remove 4x4 knob but taking out screw from the side, will remain attached to the shift boot (SR5 only, non SR5 will just unscrew). |
 |
|
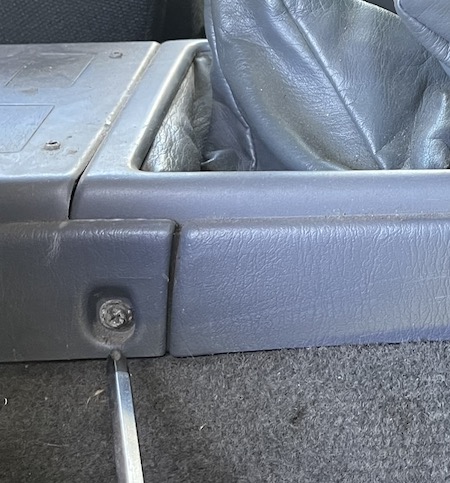
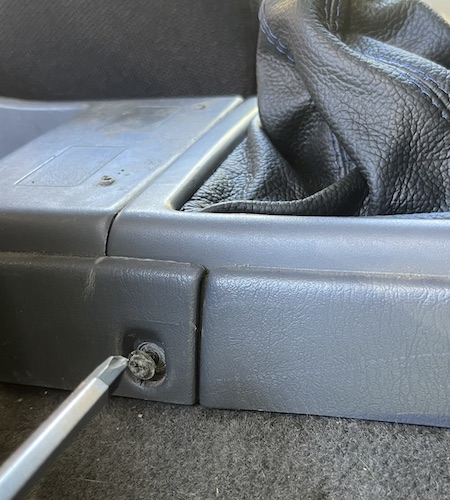
3. Remove 4 screws from the plastic trim around shifters. |
 |
|
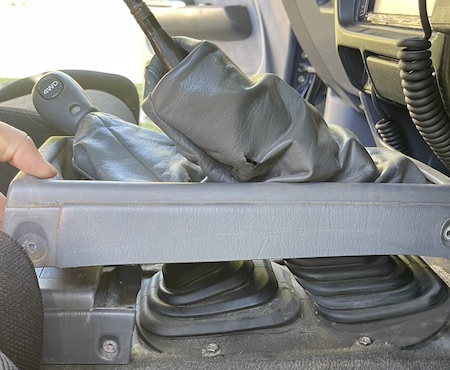
4. Pull off plastic trim that has shift boot attached. Carefully as not to break the wire that is attached to the 4x4 shift knob. (SR5 only) |
 |
|
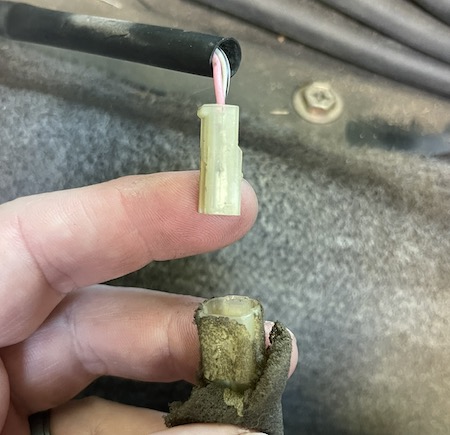
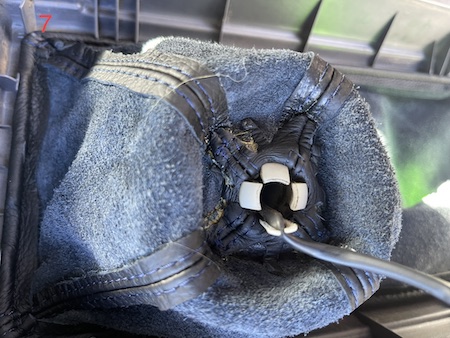
5. Disconnect wire to 4x4 shift knob and remove the knob from the boot by pushing in the 4 tabs inside the boot. |
 |
|
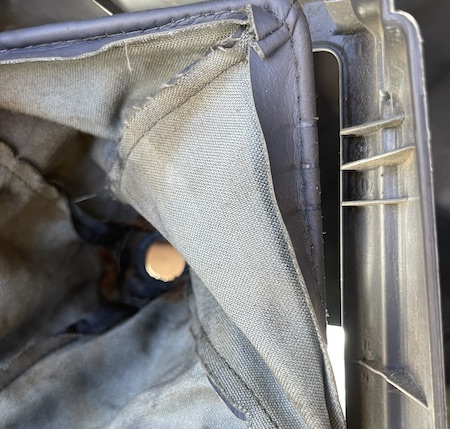
6. Remove old shift boot from plastic trim. (Just unclips from underneath) |
 |
|
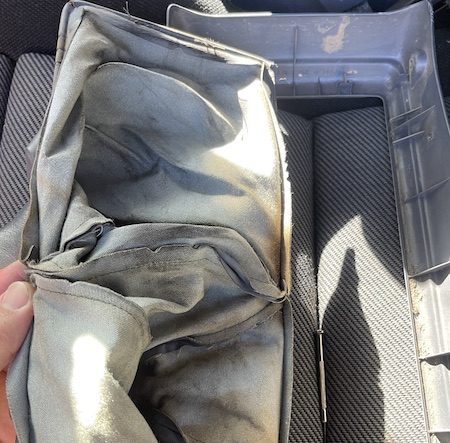
7. The old boot has a wire frame sewn into the bottom. If you had purchased your RedlineGoods boots with the optional bracket (for an extra $19), skip this step. If not, you need to transfer the wire from the old boot to the new one. The way to accomplish it is explained here. |
 |
|
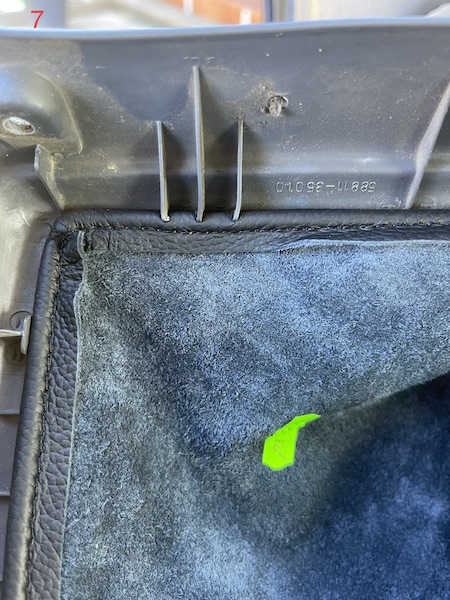
8. Place new shift boot into trim by clipping it into place underneath. |
 |
|
9. Seat the 4x4 knob on the boot - feed the wire through the collar of the boot. |
 |
|
10. Attach 4x4 shift knob to new boot by pushing into place until the 4 tabs are completely in. May be very tight. |
 |
|
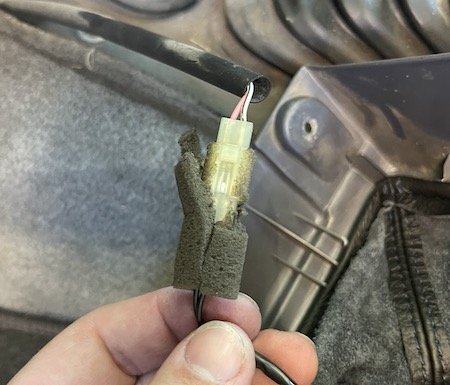
11. Reconnect the connector. |
 |
|
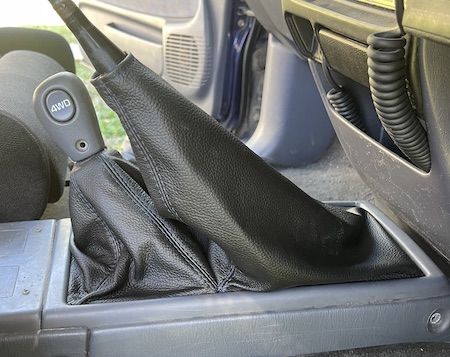
12. Lower the center console back into place. Make sure the 4x4 shifter goes on top of the transfer case lever properly. |
 |
|
13. Reattach the 4x4 knob permanently by screwing in the lock screw. |
 |
|
14. Reattach the bottom trim with the screws removed earlier. |
 |
|
15. Screw the shift knob back on. |
 |
|
ENJOY YOUR NEW LEATHER BOOTS! |
|
|
Useful tip You have installed a product made out of genuine leather. As you know, to maintain a leather product in good condition, you should take care of it. We suggest occasionally (every 4-6 week for example) applying some leather conditioner/UV protector to keep your leather from drying up in the sun and cracking. |
|
Please subscribe to our newsletter.
Get an instant 20% discount and enter our montly $100 CASH sweepstakes!