2006-09 PONTIAC G8 |
||||||||||||||||||||||||||||||||||||||||||||||||
|
MANUAL SHIFT BOOT. Armrest cover and automatic shift boot - scroll down! |
 |
|
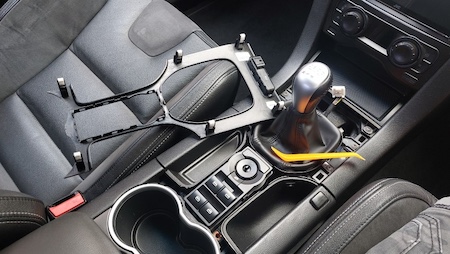
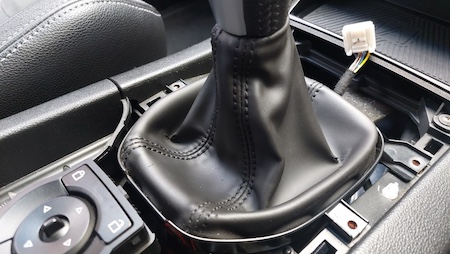
2. Unscrew the 4 screws that hold the shift boot plastic in place. Firmly grip the gear knob and pull straight upwards DO NOT TWIST. It will take force to remove so take care not to damage yourself. |
 |
|
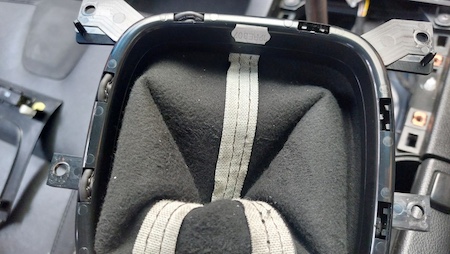
3. Carefully pull/push the old shift boot off the plastic mount making note of its orientation, single stitch line to the front and two stitch lines to the rear. |
 |
|
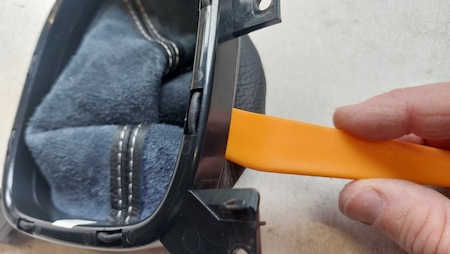
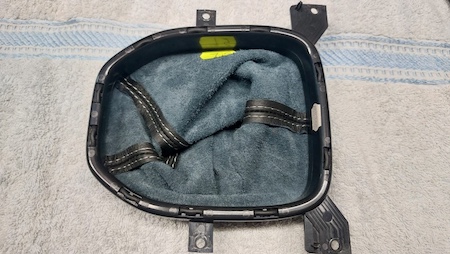
4. Pull the new shift boot onto the mount ensuring correct orientation and using a blunt tool push the boot into the securing moulded clips. |
 |
|
5. Ensure all 10 moulded clips are securing the shift boot sufficiently. |
 |
|
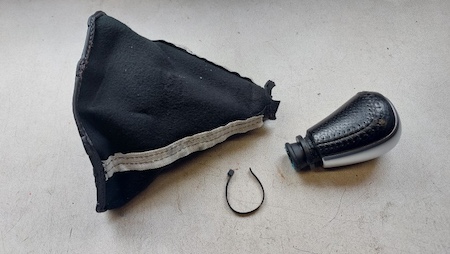
6. Separate the gear knob from the old shift boot by cutting the zip tie. |
 |
|
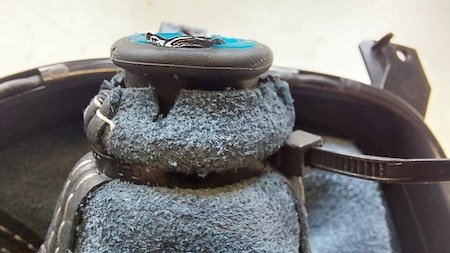
7. Install your gear knob into the new shift boot and fit a new zip tie. |
 |
|
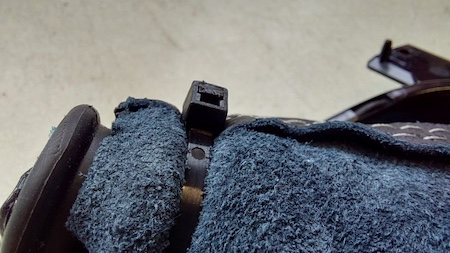
8. Flush cut the zip tie which ensures the rear of the leather is not damaged after installation. |
 |
|
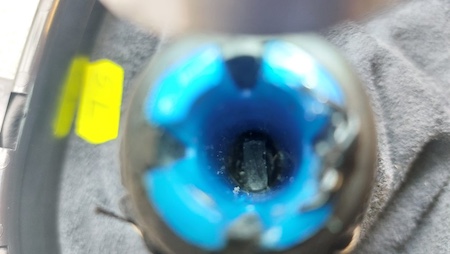
9. Holding the gear knob firmly push it straight down on the gear stick until it is in the correct location NO NOT TWIST. You can see inside the gear knob is a locating bar that runs front to back, twisting will damage this bar and cause it to spin. |
 |
|
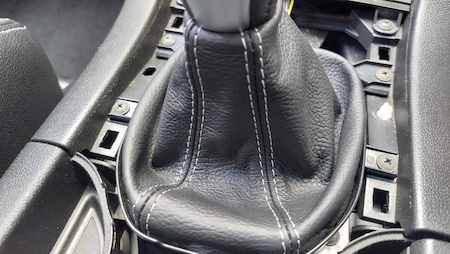
10. With the gear knob correctly fitted manipulate the shift boot into position and fit the 4 screws that hold the shift boot plastic in place. |
 |
|
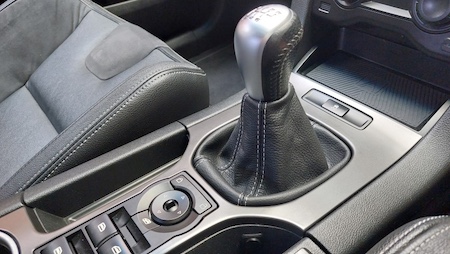
11. Carefully clip the trim into position with a firm push remembering to install any wiring/switches that were removed. |
 |
|
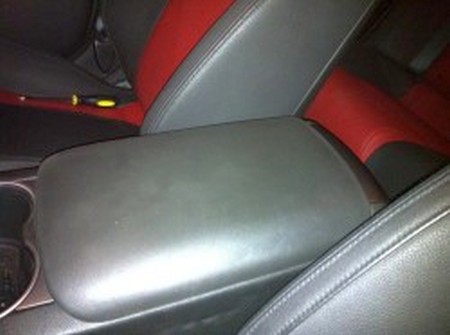
ARMREST COVER |
 |
|
2. Unscrew 6 screws circled in red. |
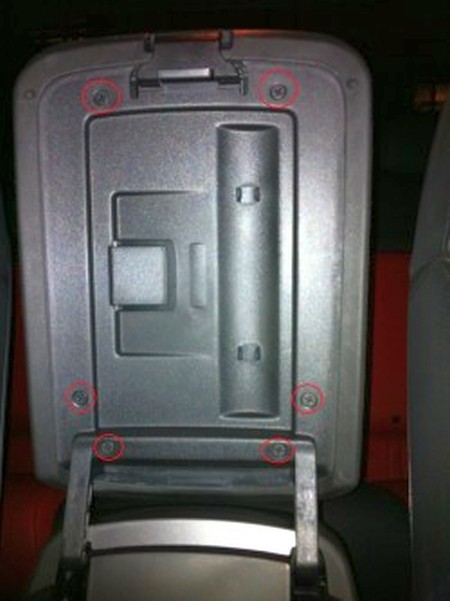 |
|
3. Separate console lid from backing plate, tabs circled in red. |
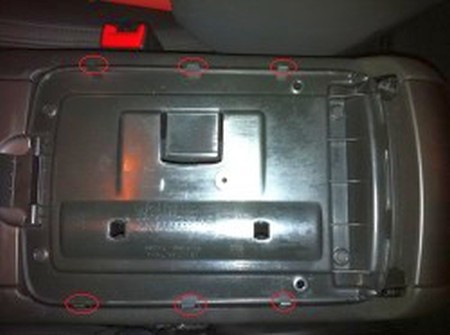 |
|
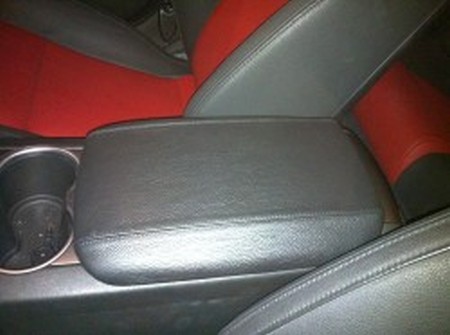
4. Connect new leather wrapped lid to backing plate. Begin to screw in leather wrapped lid; the lid will “click” into the tabs. |
 |
|
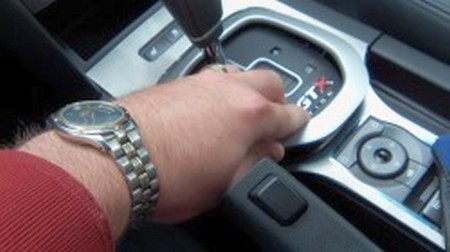
AUTOMATIC SHIFT BOOT |
 |
|
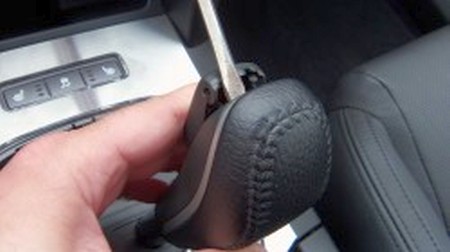
2. Put the key in the ignition, turn the car to the on position (not starting the car). Pull the emergency brake up and put the car in drive. Take a flat head screwdriver and place it in the top of the button portion and pry lightly. The button is being held in by a small dimple on either side that will come loose without any real pressure needed to pop off. |
 |
|
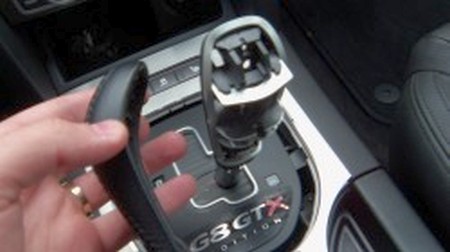
3. Take the T20 star shaped screwdriver and find the 1 screw holding the leather back portion on the shifter. Going from the front where the button was, you should see the screw to be removed. Pop off the leather portion. Now you can see the skeleton to the shifter/gear selector. |
 |
|
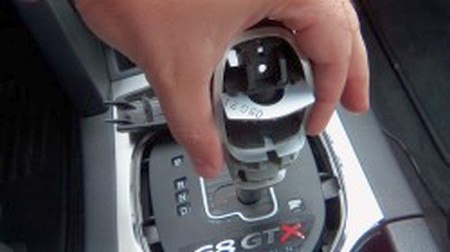
4. Now remove the retaining clip that holds the painted silver portion of the shifter. I was able to do this by pulling the painted silver section straight back. The clip will come off with the silver section. |
 |
|
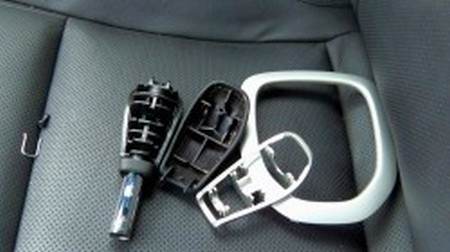
5. Now the shifter is no longer being secured so you can pull it straight up off the shaft. |
 |
|
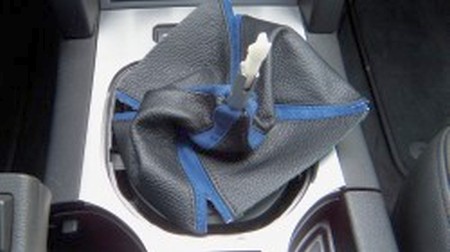
6. Now this may become your own technique. I placed the longest side of the boot facing the front. I cut the slits in the top part of the boot to be able to pull it up past the chrome section of the shaft and onto the actual gear selector.
Once you think you have the boot situated on the shifter the way you want it, you may now slide it back on the shaft and secure it back in place with the pained silver trim and the retaining clip. |
 |
|
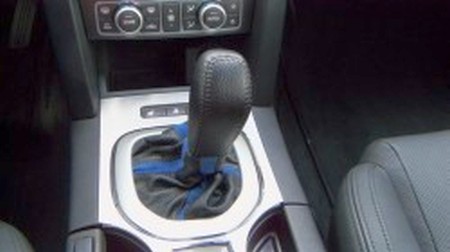
7. Put the material under the opening of the beauty ring on the outside for a test fit. There will be a lot of check and recheck at this stage. In some positions, the leather will keep the beauty ring from going back in place, others will make the material pull out when going from park to drive to manual mode. One you have found the correct position, reverse the other steps putting the shifter back together. You are now done! |
 |
|
ENJOY YOUR NEW LEATHER BOOTS! |
|
|
Useful tip You have installed a product made out of genuine leather. As you know, to maintain a leather product in good condition, you should take care of it. We suggest occasionally (every 4-6 week for example) applying some leather conditioner/UV protector to keep your leather from drying up in the sun and cracking. |
|
Please subscribe to our newsletter.
Get an instant 20% discount and enter our montly $100 CASH sweepstakes!