2011-15 HONDA CRZ |
||||||||||||||
|
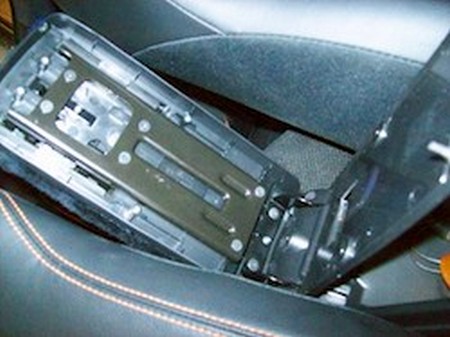
1. Open console lid and remove the five screws as seen in the photo (remove only center screw from the hinge at this time.) |
|
|
2. Pull the plastic cover back, revealing the other two hinge screws. Remove them and the console from the car. |
 |
|
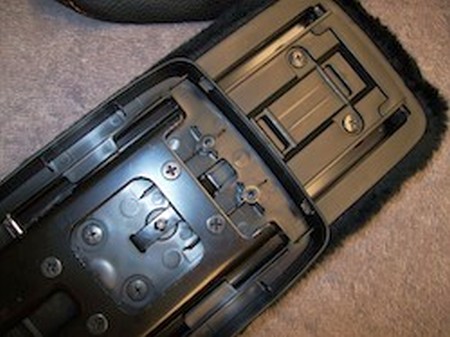
3. Turn the Armrest upside-down and slide top cover open to the extended position, and remove only the four screws that are revealed as the cover is extended. |
 |
|
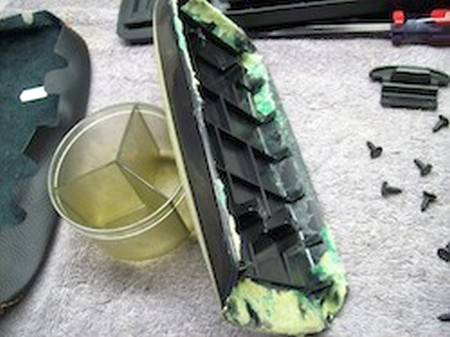
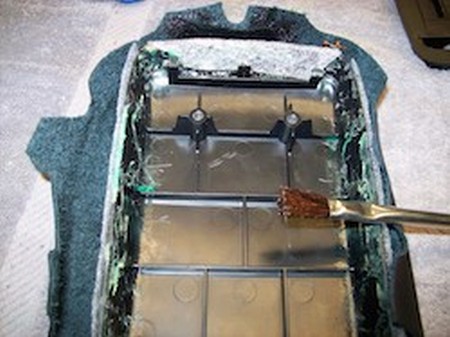
4. Remove OEM padding/material by gently pulling/scraping the edges from the plastic, then remove the excess glue/adhesive that remains. |
 |
|
5. Fit the RedlineGoods cover over the lid's base, carefully ligning up the stitching to get it even on the sides/edges. Brush on a light layer of fabric glue/adhesive to the mating surfaces. |
 |
|
6. Reinstall removal steps to complete your installation and ENJOY! :) |
|
|
CONGRATULATIONS - YOU HAVE SUCCESSFULLY INSTALLED YOUR NEW LEATHER BOOTS!
Useful tip You have installed a product made out of genuine leather. As you know, to maintain a leather product in good condition, you should take care of it. We suggest occasionally (every 4-6 week for example) applying some leather conditioner/UV protector to keep your leather from drying up in the sun and cracking. |
|
Please subscribe to our newsletter.
Get an instant 20% discount and enter our montly $100 CASH sweepstakes!