2013-17 HONDA ACCORD |
||||||||||||||||||||||||||||
|
1. Unscrew the shift knob. Lefty-loosey righty-tighty. :) |
|
|
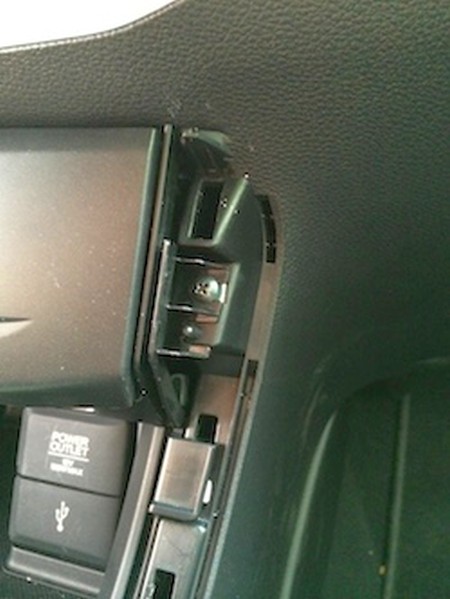
2. Remove the two screws holding the center console compartment in. One on each side. Pull compartment out. |
 |
|
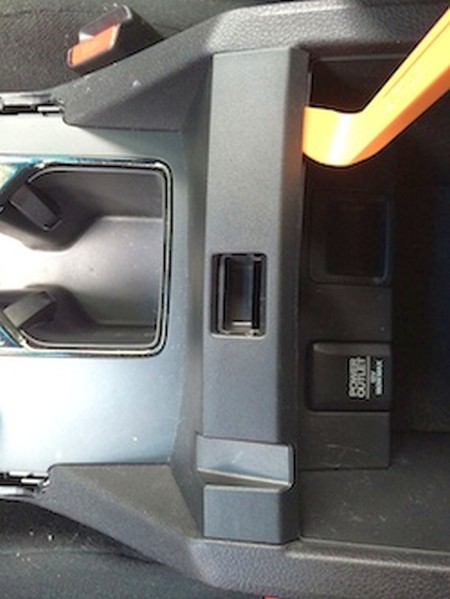
3. From the back forward, pop the clips holding the panel on. There are 10 clips total securing the panel. 5 per side. |
 |
|
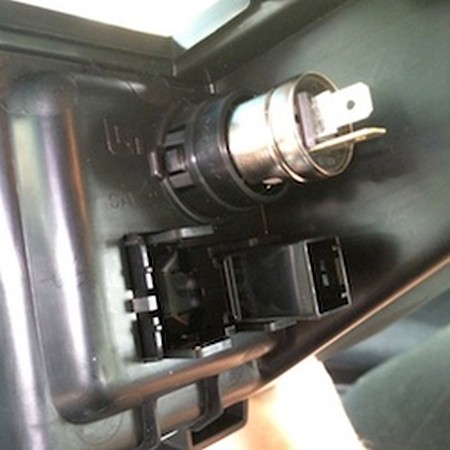
4. There are 2 electrical connectors at the front for USB and ACC Power. Remove those and take the console out of the car altogether. |
 |
|
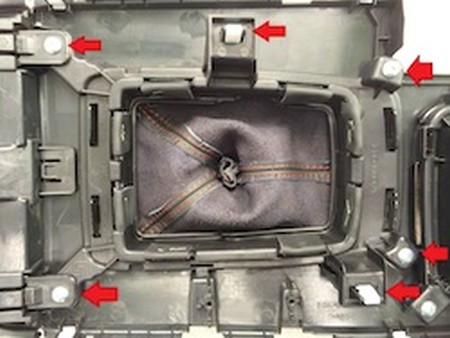
5. 4 screws and 2 clips secure the shift boot plastic trim on the bottom of the center console panel. |
 |
|
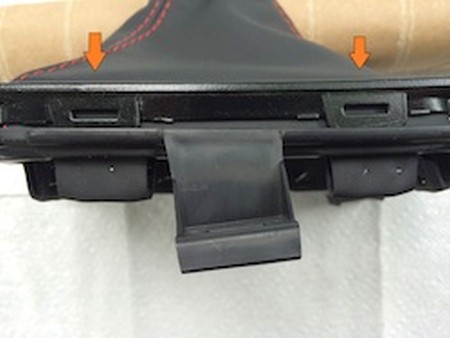
6. With the shift-boot trim off the console, slowly pry open the 8 tabs holding the shift boot trim ring on, 2 on each side. |
 |
|
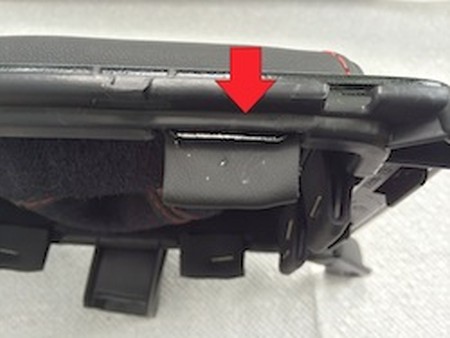
7. Remove staples holding shift boot to plastic. 8 strips of the shift boot, 2 on each side. |
 |
|
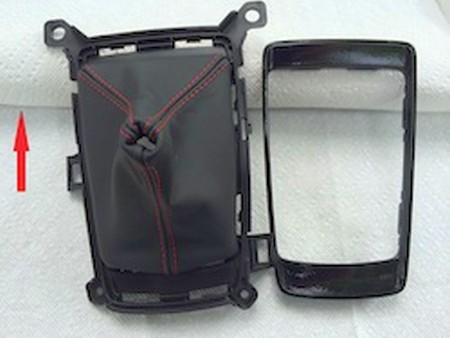
8. Make sure to put the new shift boot through the inner holes, fold over, and staple. Note the direction of stitching |
 |
|
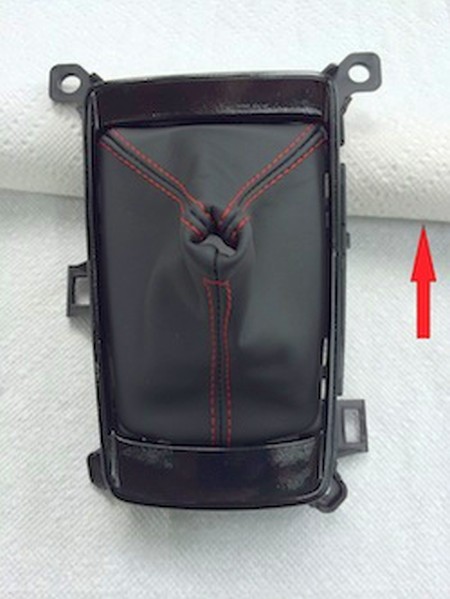
9. Press the outer trim ring back on. Reinstall shifter trim in the center console, and the console in the car. |
 |
|
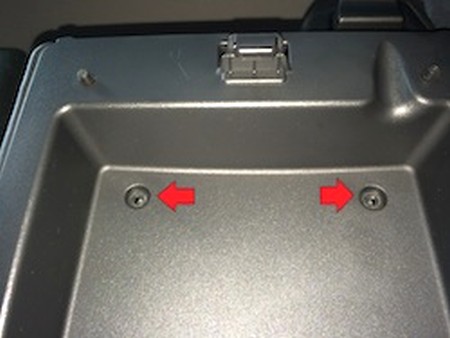
10. Open armrest compartment and remove 4 screws from bottom of armrest. Two in the front... |
 |
|
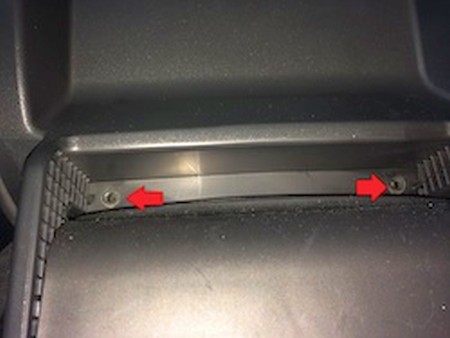
11. ... and two in the rear. |
 |
|
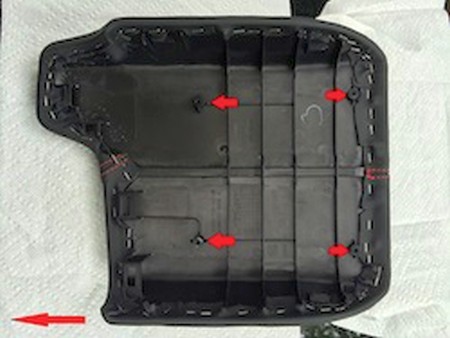
12. Remove the stock cover by undoing the staples and install the RedlineGoods cover instead. You can either re-staple it if you have the proper staple gun, or just glue it down. |
 |
|
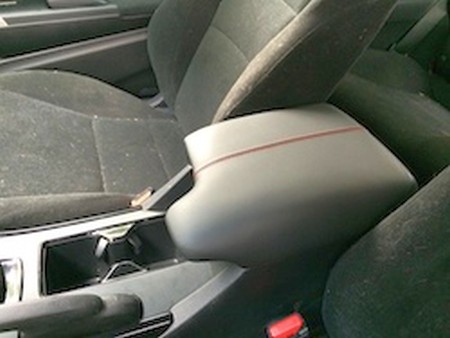
13. Reinstall the armrest lid with the new cover back into the car. |
 |
|
CONGRATULATIONS - YOU HAVE SUCCESSFULLY INSTALLED YOUR NEW LEATHER BOOTS!
Useful tip You have installed a product made out of genuine leather. As you know, to maintain a leather product in good condition, you should take care of it. We suggest occasionally (every 4-6 week for example) applying some leather conditioner/UV protector to keep your leather from drying up in the sun and cracking. |
|
Please subscribe to our newsletter.
Get an instant 20% discount and enter our montly $100 CASH sweepstakes!