1976-85 MERCEDES 240D |
||||||||||||||||||||||||||
|
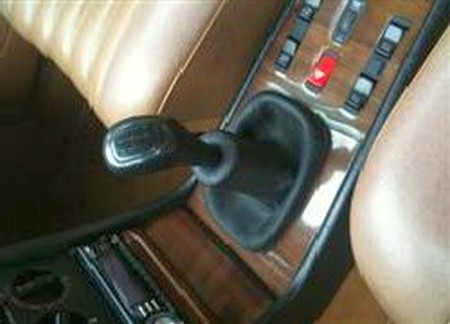
1. This procedure describes and shows the steps to install a Redline leather shift boot on a Mercedes Benz 240D 4 speed manual transmission. |
 |
|
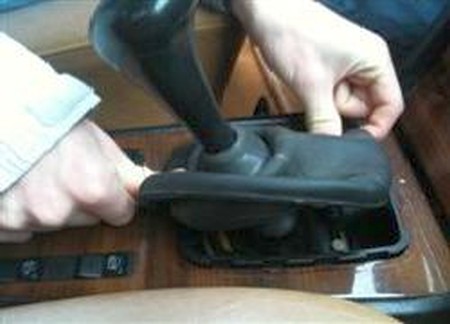
2. Release rubber shift boot from console and loosen shift jam nut |
 |
|
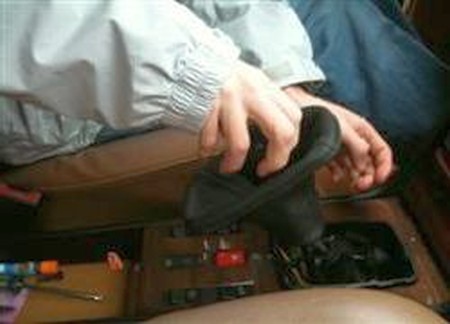
3. Remove shift knob by unthreading |
 |
|
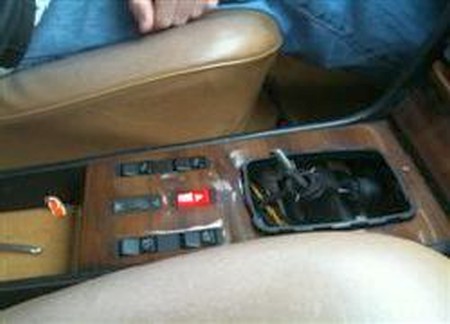
4. Inspect the shift boot... |
 |
|
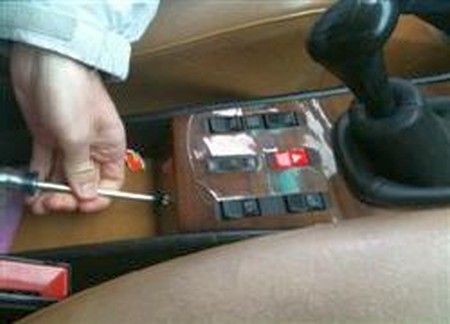
5. Now you will need to use contact cement to attach the leather boot to the center console. This can be done in the car, or for convenience I removed the center console to the warmth of my home to attach. Remove the attaching screw and switch wires. |
 |
|
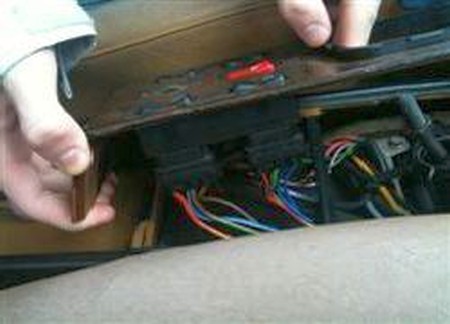
6. The connectors easily come off the back of the switches. Leave the switches installed in the console |
 |
|
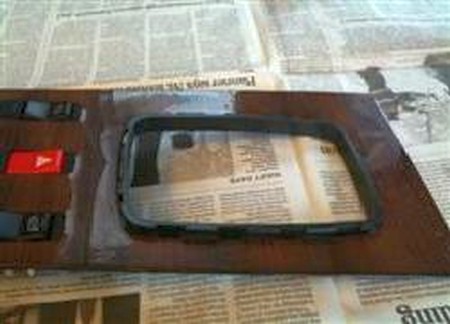
7. The console is ready for contact cement. |
 |
|
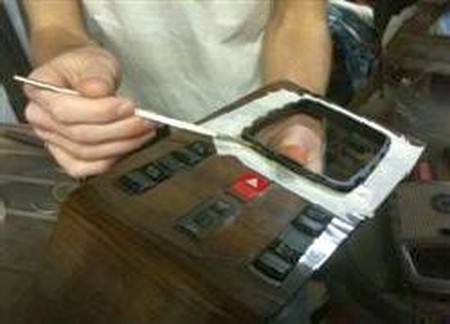
8. Tape off the wood veneer before applying cement for easier clean up. Using a thin brush apply coat of contact cement to the console boot ring. |
 |
|
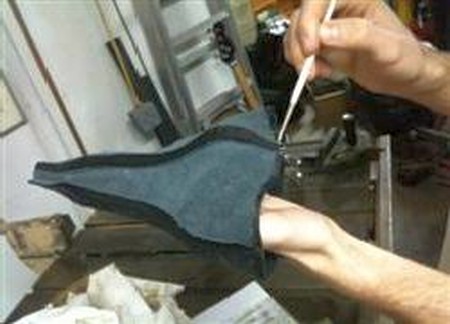
9. Then turn your new leather boot inside out and apply contact cement to a thin band (4mm) around the base of the boot. |
 |
|
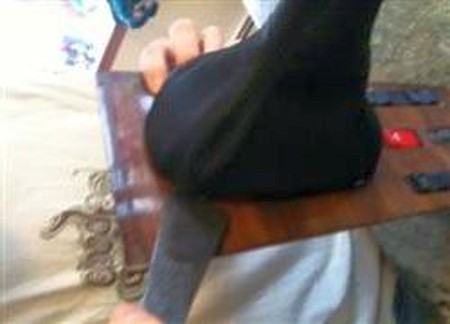
10. Let the contact cement dry per the manufacturers recommended time. Turn the boot correct side out and carefully attach to the console ring. Use a thin blade or scraper knife to push the leather boot in place. |
 |
|
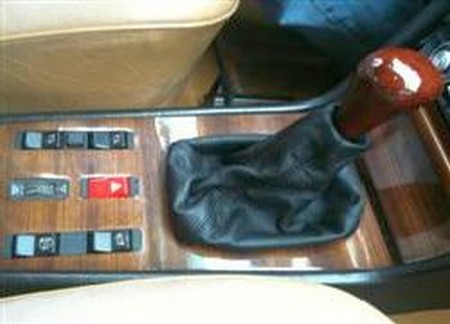
11. If you took the console out of the car, re-install it attaching the switch wires first, Thread on your shift knob (I installed a new knob), and secure the console screw. |
 |
|
ENJOY YOUR NEW LEATHER BOOTS! |
|
|
Useful tip You have installed a product made out of genuine leather. As you know, to maintain a leather product in good condition, you should take care of it. We suggest occasionally (every 4-6 week for example) applying some leather conditioner/UV protector to keep your leather from drying up in the sun and cracking. |
|
Please subscribe to our newsletter.
Get an instant 20% discount and enter our montly $100 CASH sweepstakes!